Get confident tracking failures with a simple, custom error logging setup in Lovable. Learn how to log user-facing errors for photo uploads into a centralized table, connect reports from edge functions, and review everything in an admin panel—without relying only on third‑party analytics.
Why add custom error logging in Lovable?
Custom logging lets you see exactly when users hit errors and why. The goal here is clear: record errors during photo uploads so you can review causes later and fix blockers fast. Instead of only using generic analytics, you’ll create an error logs table that stores key details and supports multiple features.
What gets stored:
- user ID to know who experienced the issue.
- error type for photo uploads, file uploads, AI photo renaming, and photo renaming.
- status to track categories of failures across features.
- error message and error details for quick debugging.
- file info when relevant.
Useful vocabulary from the workflow:
- chat mode: plan changes without editing code immediately; get best practices and a step-by-step approach.
- edge functions: where most logic runs for renaming and uploading; great place to capture and send errors to the table.
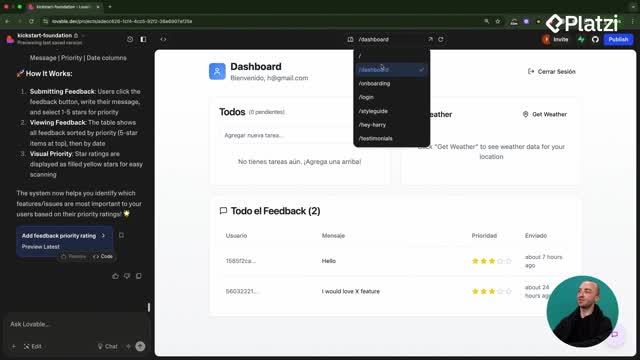
- admin panel: dashboard to view users and now error logs, with actions like mark as resolved or delete.
- logging utility: a small script that standardizes how errors are captured and inserted into the database.
Tip learned during implementation: set up error logging early. Adding it late may require wide edits across components and functions, increasing the chance of mistakes. For small apps this is manageable, but planning early keeps changes minimal and safer.
How does the plan use chat mode and edge functions?
The setup starts in chat mode to outline the implementation before touching code. Lovable reads the current project—including Supabase setup—and proposes a plan to:
- Create a unified error logs table for all features.
- Include user ID, error type, status, message, details, and optional file info.
- Build a logging utility to centralize inserts to the database.
- Add error reporting inside the edge function paths where uploads and renaming run.
- Optionally create an admin error dashboard inside the existing admin panel.
Once the plan looks right, use “implement plan.” Be aware: this may touch many files. The key skill here is iterative planning—let the tool propose a structure, then refine and apply once it aligns with your workflow.
How to test and manage errors from the admin panel?
Testing is essential to confirm logs reach the table.
Two practical paths were used:
- Using the browser console.
- Open the deployed preview link (e.g., the preview link that updates after every push on Vercel).
- Right‑click, choose Inspect, then open Console in Chrome’s developer tools.
- Paste the provided console commands to trigger errors on demand.
-
If they fail, return to chat mode, share the console output, and request a corrected snippet.
-
Adding a dedicated test button.
- In the admin dashboard, add a “test error logging” button wired to the current error system.
- Click to insert a sample error into the table immediately.
Managing errors in the admin panel:
- View all error logs in one place.
- Mark bugs as resolved when fixed.
- Delete entries you no longer need.
This flow gives teams actionable visibility: from capturing errors at the edge to reviewing them in the admin panel and tracking resolution. With this in place, you’re ready to launch with higher confidence—and next, analytics like PostHog can complement your insights.
Want to share how you’d structure error types or what fields you’d log first? Add your ideas and questions below.


