Deploy with confidence by separating environments. Learn how a clear staging–production workflow, powered by GitHub branches and Vercel, keeps users safe while you test features in Lovable. Follow this practical path to reduce risk, improve QA, and ship updates that work.
What are production, staging and development environments?
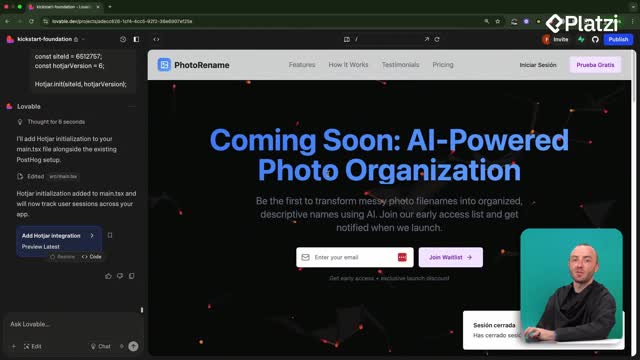
A solid deployment flow starts with environment separation. Production is the live app your users see. Staging is a safe copy where you test features end to end before release. A development branch is where you build each feature without touching what users use.
- Build the feature on a development branch.
- Merge into staging for testing and QA.
- Verify the app works and nothing breaks.
- Merge and deploy to production for users.
This flow ensures the version in production is up to date, tested, and stable. Bugs can slip through, but treating staging as the gate reduces risk before changes reach end users.
How to set up staging and production with GitHub and Vercel?
You’ll rely on GitHub branches connected to Lovable and a Vercel deployment for the main branch. The idea is simple: main is production, a separate branch is staging, and features branch off staging.
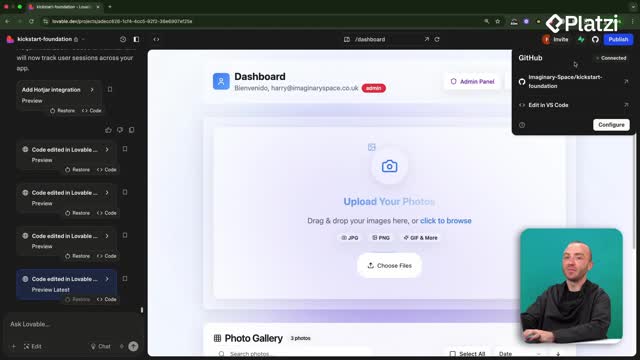
- Connect Lovable to GitHub from the top-right GitHub button or Project settings.
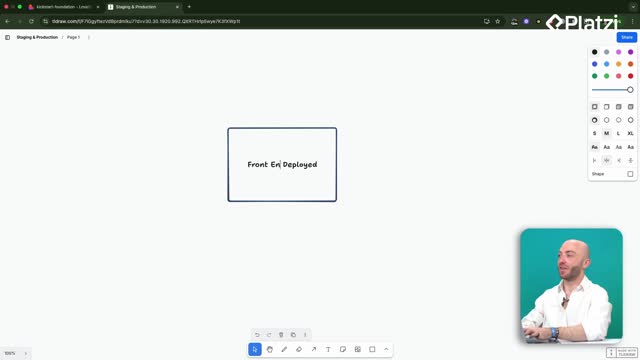
- Ensure Vercel deploys the main branch as production.
- Create a new branch named "staging" in GitHub.
- From staging, create a feature branch (for example, "Feature A").
- Switch Lovable to work on the feature branch via GitHub integration.
- Push changes; GitHub will show the feature branch one commit ahead while main stays unchanged for users.
This keeps a clear separation: what you’re building vs what users see. Next, you’ll open a PR to merge changes—covered in the following lesson.
How to connect Lovable to GitHub?
Use the GitHub button in Lovable’s top right, or open Project settings and link your repo. If needed, enable GitHub Branches in Labs (a simple slider).
- Confirm the repo is linked.
- Open the repo from Lovable to view code and branches.
- Optionally copy the repo locally if you prefer.
How to create branches for staging and features?
In GitHub, create a branch named staging. From there, create a feature branch for each change.
- Keep main as production.
- Keep staging in sync with production when needed.
- Branch off staging for each feature.
How to switch Lovable to a feature branch?
In Lovable’s GitHub integration, select the branch you want to work on (e.g., "Feature A"). Now all edits and commits affect that branch, not production.
- Confirm Lovable shows the selected branch.
- Make your changes safely.
- Verify GitHub shows your feature branch ahead of main.
Which skills and concepts should you master in this workflow?
Master these to keep deployments safe and smooth. Each term anchors a step in the lifecycle.
- Production environment: the live app for users; must remain stable.
- Staging environment: pre-production testing area; acts as a gate.
- Development branch: where you implement a feature before merging.
- Merge: combine changes from a feature branch into staging, then into production.
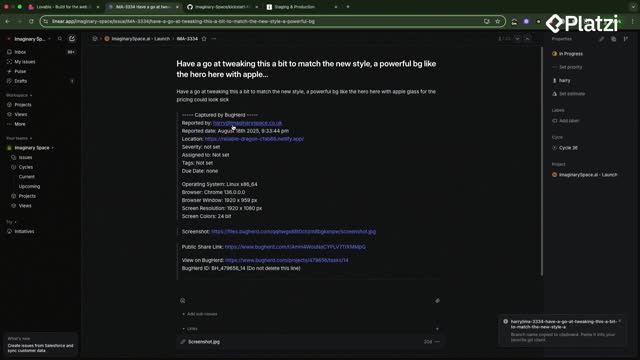
- QA (quality assurance): validate features and the app on staging before release.
- Deploy: publish code to an environment (e.g., Vercel for main).
- GitHub repository: centralized codebase with main, staging, and feature branches.
- Branching strategy: main for production, staging for testing, features off staging.
- Commit: a snapshot of changes; GitHub may show a branch ahead of main.
- PR (pull request): proposal to merge code; next lesson covers the workflow.
- Lovable integration: switch branches in Project settings to isolate work.
Have a question about staging vs production setups or branch flows in Lovable, GitHub, and Vercel? Share it and keep the conversation going.