Speed up load times with practical image optimization that preserves quality. Drawing on seven years of hands-on web design, this guide shows how large stock photos can slow a pricing section and how tools like Squoosh, WebP, resizing, and lazy loading make your UI feel instant.
Why do image size and page speed matter?
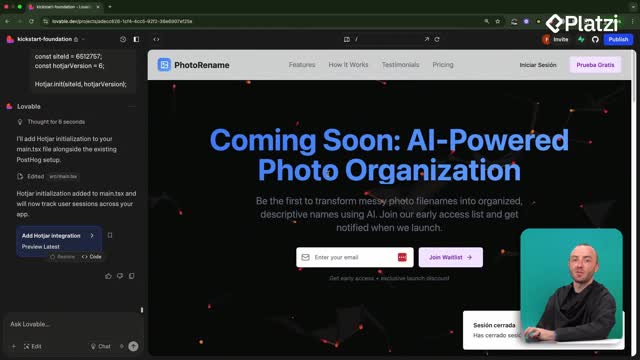
Large background images can quietly bloat a landing page. In the example, a single download was 643 KB, and because two images were added, the page began loading about 1.2 MB just for backgrounds. That size penalty is significant for a section that isn’t core to app logic.
- Start by auditing images before code changes.
- Prioritize reducing file size for faster first paint.
- Replace duplicate or oversized backgrounds.
- Verify results visually after each optimization.
Which numbers should you watch?
- Source size from stock sites, like Unsplash: a “large” file was 643 KB; a smaller version was 47.3 KB (about 10x smaller).
- Squoosh default compression: roughly 63% reduction from a ~650 KB file.
- Quality tuning: down to about 113 KB with minimal visible impact when zoomed out.
- Resizing by 50%: about 34 KB, noting small-text blur risk.
How to optimize images with Squoosh and WebP?
Squoosh at squoosh.app is a Google-built tool with a simple slider to compare original and optimized versions. Use the visual slider to judge acceptability rather than guessing settings.
- Choose the small download first on Unsplash. this alone can drop to 47.3 KB.
- Load the larger image into Squoosh. the demo used about 658 KB.
- Apply default compression. expect near 63% savings before fine-tuning.
- Lower quality gradually. check the slider; aim for about 113 KB if it still looks good.
- Resize thoughtfully. try 50% to target around 34 KB; watch for blurred writing.
- Convert to WebP. this modern format keeps detail at smaller sizes better than basic JPEG compression.
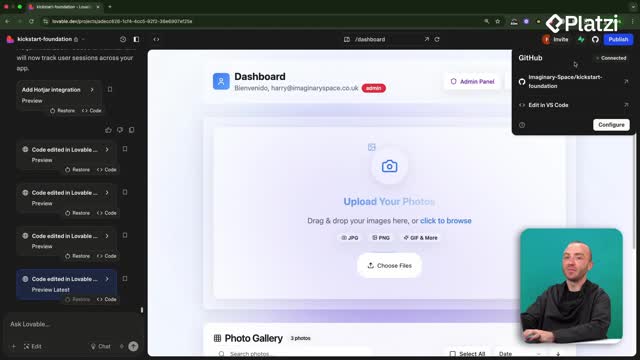
- Download and replace in your builder. in the demo, the image was replaced inside Lovable.
What quality check should you do?
- Zoom out and move the slider. if differences are hard to spot at normal viewing, the setting is acceptable.
- Scan text and edges. ensure writing remains legible after compression and resize.
- Compare JPEG vs WebP. WebP often retains fine details at lower quality settings.
What workflow speeds up development and user experience?
A consistent routine avoids regressions and keeps pages snappy even with visuals.
- Prefer small-size downloads from stock photo sites from the start.
- Batch-run all images through Squoosh for compression, resize, and WebP conversion.
- Replace assets in Lovable and verify the preview.
- Enable lazy loading for landing page images. images below the fold (like the pricing section) load only when scrolled into view, making the hero feel instant.
- Re-check components and media after each change. avoid adding multiple large backgrounds.
- Note future optimization areas. beyond images and components, consider user data caching to speed data loads later.
Where should you apply lazy loading?
- Backgrounds and media in the pricing section. these should load when the user scrolls there, not in the hero.
- Any images below the fold. defer until they enter the viewport.
Which tools and sections were used?
- Unsplash for stock photography.
- Squoosh for compression, resizing, and WebP conversion.
- Lovable editor to set backgrounds and enable lazy loading.
- Pricing card background in a photo renaming app context.
Have a question or a tip that improved your image load time? Share it and compare results with the sizes you achieved.