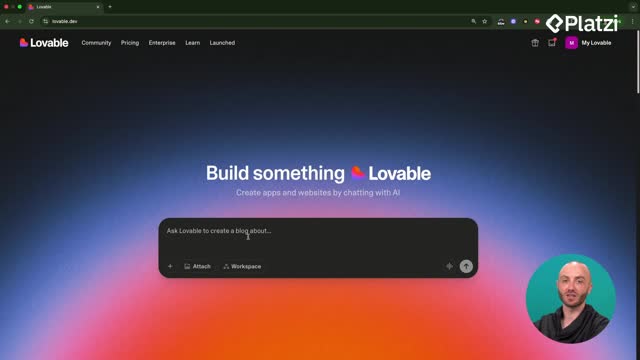
Connecting a custom domain in Lovable is straightforward when you know where to click and what to expect. Here you’ll learn how to use Lovable’s built-in flow to connect an existing domain, how to buy one with Ionos, and what to do while DNS updates propagate. Expect clear steps, practical tips, and key terms like Publish, custom Domain Section, DNS provider, DNS records, Authorize with GoDaddy, Ionos, and domain propagation.
Why connect a custom domain in Lovable?
Tying your app to a simple, memorable address is essential. The process inside Lovable focuses on two paths: connect an existing domain or purchase a new one, then wait for the connection to complete and push updates to your domain.
How do you access the custom domain options?
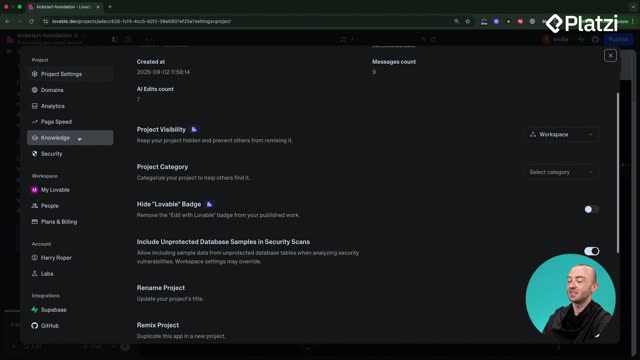
- Go to Publish in the top right.
- Open the custom Domain Section.
- Choose between Connect domain or Purchase domain.
What naming tips help when buying?
- Keep it simple and easy to remember.
- Many startups use verbs or actions in the name.
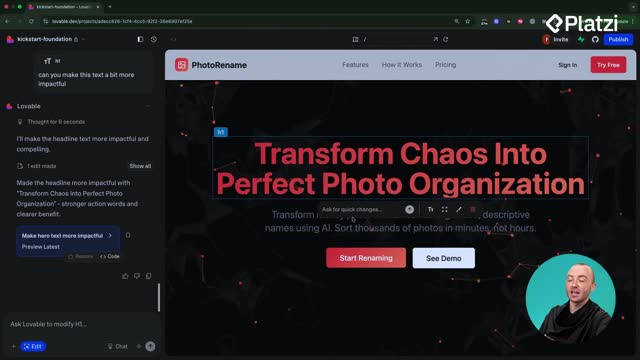
- Example inspiration: renameify.co and photorenamer.ai.
How do you connect an existing domain with Lovable?
Lovable offers a guided flow with a third-party tool that detects your DNS provider, fetches setup details, and prompts you to log in. If your registrar is recognized, the tool can update the necessary fields for you.
What are the steps to connect?
- Click Connect domain and Continue.
- Enter your domain URL.
- Let Lovable detect the DNS provider and request a login.
- If available, use Authorize with GoDaddy for automatic updates.
- If needed, add the required DNS records manually.
- Use the refresh buttons to check connection status.
What if it takes time to connect?
- Connection may take a few minutes.
- Use Finish to return, then Exit to the project view.
- Click Update to push your code to the connected domain.
How do you buy a domain with Ionos and publish?
If you prefer to purchase a new domain, Lovable routes you to Ionos, its partner for domains. You can compare TLDs like .ai, .info, .studio, and .app, pick one, pay, and get redirected back to Lovable for automatic connection.
How do you choose and purchase?
- Click Buy Domain from the custom Domain Section.
- Search for a name that matches your app.
- Review TLD options: photorenamer.info, photorenamer.studio, photorenamer.app.
- Add your choice to cart. Ignore extra offers if not needed.
- Prices vary. Some options are around $12, others as low as $1.
- Complete payment in Ionos. You’ll be redirected back to Lovable.
What happens after payment?
- Lovable begins connecting the domain automatically.
- It may show as “still trying to connect.”
- Use refresh to verify status.
- Click Update to deploy code to your new domain.
How long does domain propagation take?
- Plan buffer time for domain migration/propagation.
- Avoid doing it right before a client deadline or launch date.
- Recommended window: 24 to 48 hours for everything to settle.
Have questions about choosing a TLD, using Authorize with GoDaddy, or when to click Update? Share your scenario and challenges in the comments to get tailored tips from the community.