Los selectores sirven para darle estilo a las cajitas, a las etiquetas de nuestro html!
Hay selectores que abarcan a las etiquetas en diferentes rangos, los selectores tienen especificidad, entre más especifico es el selector tiene mayor importancia y css le dará mas prioridad para colocarle el estilo que indica el selector a determinada etiqueta de html.
Aquí una tabla de especificidad de los selectores, que se vió durante el curso: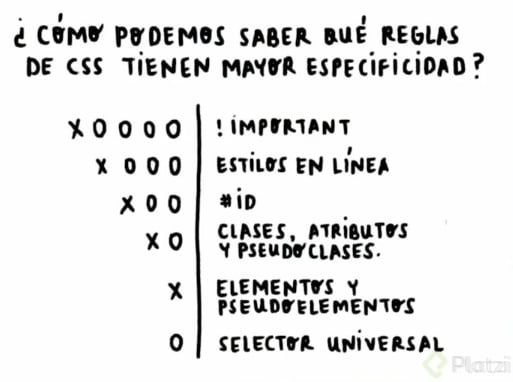
Ahora un ejemplo de como se utilizan los selectores según la especificidad que tienen:
Del menos específico al más específico:
Para empezar se crea un codigo html, el cual se usará de ejemplo:
<!DOCTYPE html><htmllang="en"><head><metacharset="UTF-8"><metaname="viewport"content="width=device-width, initial-scale=1.0"><title>Especificidad</title></head><body><section><h1>Seccion 1</h1><div>div1</div><div>div2</div><div><imgsrc="https://images.pexels.com/photos/36420/rose-plant-tender-nature.jpg?auto=compress&cs=tinysrgb&w=1260&h=750&dpr=1"alt="rosa1"></div></section><section><h2>Seccion 2</h2><div>div1
<p>un parrafo</p></div><div>div2</div><div><imgsrc="https://images.pexels.com/photos/2784861/pexels-photo-2784861.jpeg?auto=compress&cs=tinysrgb&w=1260&h=750&dpr=1"alt="rosa2"></div><div><imgsrc="https://images.pexels.com/photos/9070801/pexels-photo-9070801.jpeg?auto=compress&cs=tinysrgb&w=1260&h=750&dpr=1"alt="rosa3"></div><div><p>otro parrafo</p></div></section><section><h3>Seccion 3</h3><div>div1</div><div>div2</div><div><imgsrc="https://images.pexels.com/photos/6976592/pexels-photo-6976592.jpeg?auto=compress&cs=tinysrgb&w=1260&h=750&dpr=1"alt="corazon1"></div><div><imgsrc="https://images.pexels.com/photos/16879656/pexels-photo-16879656/free-photo-of-regalo-plata-plateado-cadena.jpeg?auto=compress&cs=tinysrgb&w=1260&h=750&dpr=1"alt="corazon2"></div><div><p>otro parrafo</p></div></section><footer><h4>Pie de pagina</h4></footer></body></html><style>
*{
background: papayawhip;
color:brown;
}
</style>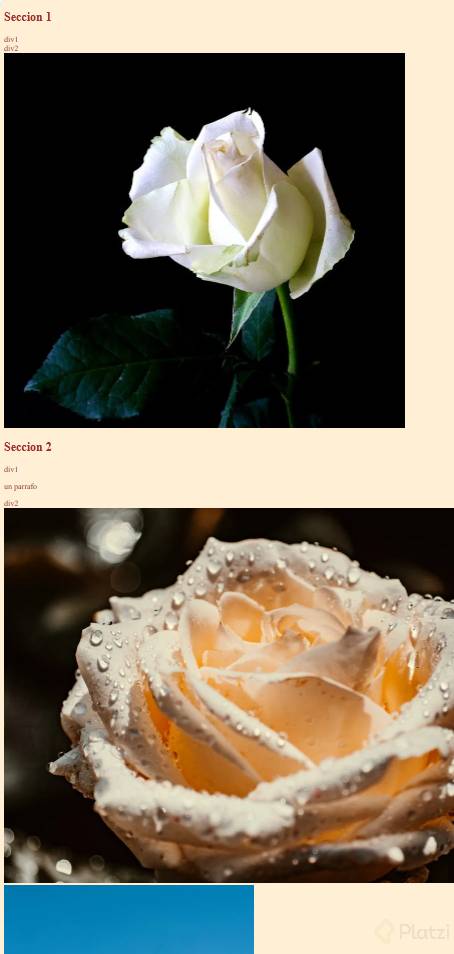
img {
            width: 50px;
            height: 50px;
        }
        p {
            color: blue;
        }

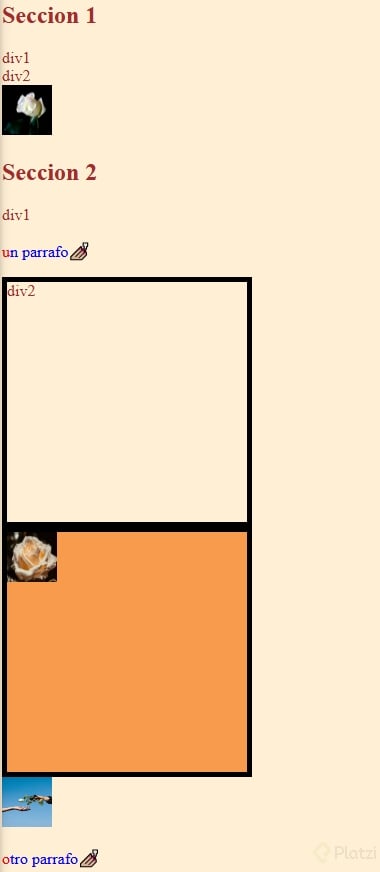
        p::after {
            content: "💅🏼";
        }
        p::first-letter {
      color: red;
        }

3. Selector de Clases, atributos y pseudoclases
p::after {
            content: "💅🏼";
        }
        p::first-letter {
      color: red;
        }
        .contenedor1 {

            border: 5px solid #000;
            width: 250px;
            height: 250px;
            box-sizing: border-box;
        }
        div:hover {
            background-color: #F89B4D;
        }
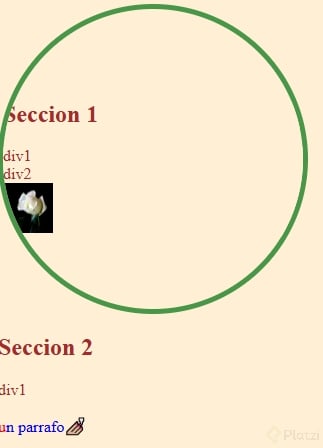
<section id="circulo"><h1>Seccion 1</h1><div>div1</div><div>div2</div><div><img src="https://images.pexels.com/photos/36420/rose-plant-tender-nature.jpg?auto=compress&cs=tinysrgb&w=1260&h=750&dpr=1" alt="rosa1"></div></section>/*Dentro de la etiqueta style*/#circulo {
            border:5px solid rgb(72, 150, 72);
            width:300px;
            height:300px;
            border-radius: 50%;
            overflow: hidden;
            display: flex;
            flex-direction: column;
            justify-content: center;
        }
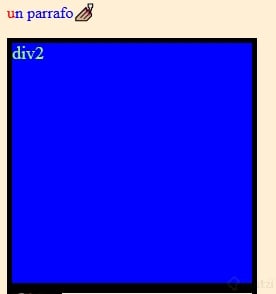
<divclass="contenedor1" style=" color: greenyellow; font-size: large; background: blue;">div2</div>
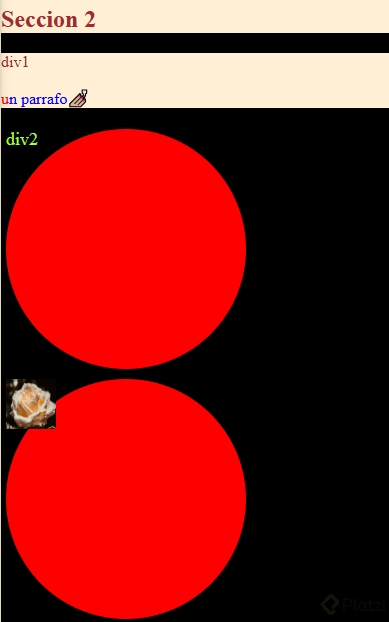
.contenedor1 {
background:red!important;
border-radius: 75%!important;
}```
La clave siempre es practicar y practicar, pero este fué un breve tutorial para usar selectores :)
