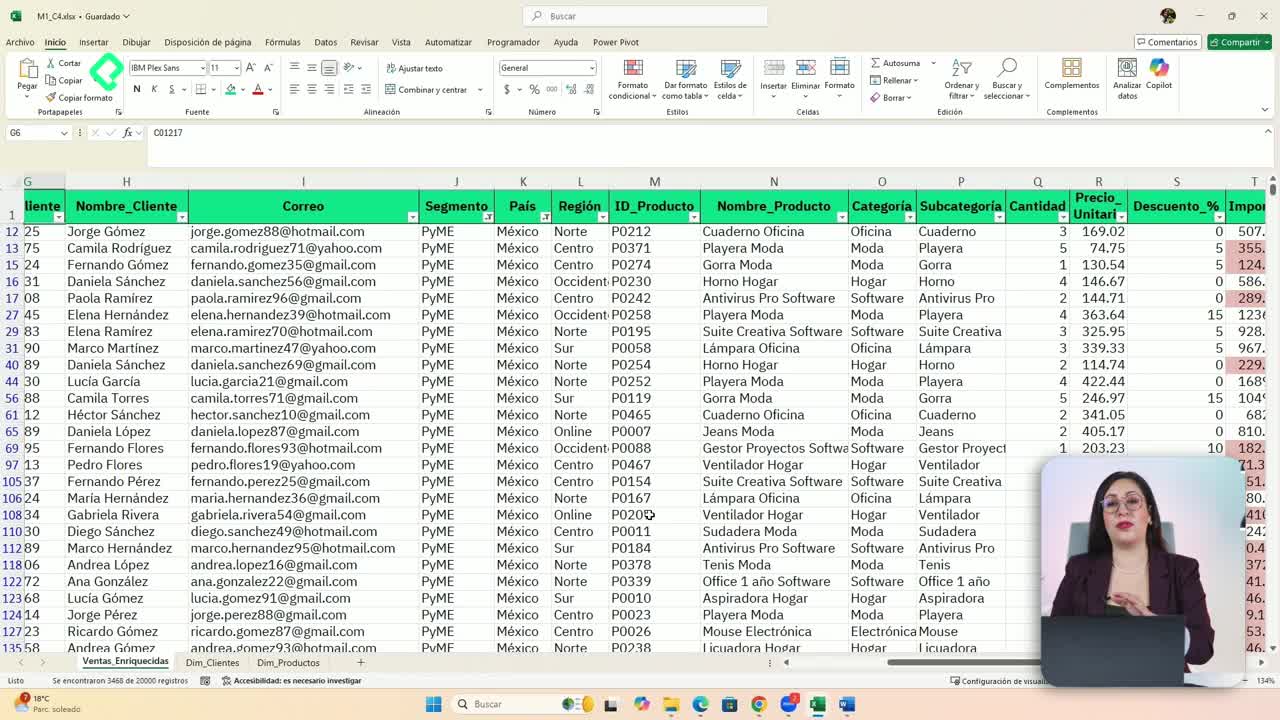
Cleaning messy spreadsheets every time a new file lands in your inbox eats hours you could spend on real analysis. With Power Query in Excel you can automate data cleaning, transform headers, split columns and refresh everything with a single click whenever new files arrive.
This walkthrough is built for analysts, finance teams and anyone who repeatedly receives raw exports with split headers, full names, missing values or concatenated fields and wants a repeatable cleanup recipe.
Why does Power Query beat manual cleaning in Excel?
The core idea is simple: you define the cleaning steps once and Power Query remembers them forever. Sound familiar? You download a file, the headers come in two rows, names arrive with full last names you don't need, you manually delete the not specified rows, and you add a column to multiply quantity by unit price. Every single time.
What is Power Query? It is an Excel tool that records every transformation you apply to your data as reusable steps, so the next time you load similar files the cleaning happens automatically.
The practical setup matters. Place your source files in a dedicated folder. For this case, only the 2017 and 2018 files go inside the folder, while 2019 and 2020 stay outside so you can later test how the automatic refresh picks them up.
How do I load multiple files from a folder?
Go to Data > Get Data > From File > From Folder and select the folder containing your Excel files. When the preview shows your files listed, choose Combine and Transform instead of Combine and Load. That second option only works when files are already clean. Since you need real transformation, Combine and Transform opens the Power Query editor where the magic happens.
How do I fix headers split across two rows?
This is the trick that saves the most time. Power Query auto promotes headers, but when your real headers live in two stacked rows, that automatic promotion gets in the way.
- Remove the Promoted Headers step from the right panel by clicking the X next to it.
- Go to Transform > Transpose to flip rows and columns.
- Select the two columns that should become one header, right click and choose Merge Columns with a space as separator.
- Transpose again to return to the original orientation.
- Click the small table icon in the top left and select Use First Row as Headers.
With those five clicks your two row mess becomes a single clean header row. You will never repeat this manually again.
How do I extract just the first name from a full name?
In Excel this usually means nesting LEFT, FIND and SEARCH. In Power Query you use Column from Examples, which reads your intent from a sample value.
Select the column with the full name, go to Add Column > Column from Examples, type the first name (for instance, Robert) and press Enter. Power Query infers the pattern, generates the M function for you and previews the result for every row. Accept and rename the new column.
When should I use Transform vs Add Column? Use Transform when you want to edit the existing column in place. Use Add Column when you want to keep the original and create a new calculated column next to it.
How do I split a column by a custom delimiter?
The shipping mode and container arrive concatenated as space dash space. Select the column, go to Transform > Split Column > By Delimiter, choose Custom and enter the exact separator. Two clean columns appear, and you only need to rename the headers to Shipping Mode and Container.
How do I add calculated columns and date differences?
For the sales amount, select Quantity and Unit Price holding Ctrl, then go to Add Column > Standard > Multiply. A new column with the product appears, ready to be renamed Sales Amount.
For delivery time, the selection order matters. Pick Delivery Date first, then Ctrl click Order Date. Power Query disables operations that don't make sense and leaves the Date > Subtract Days option active. The new column shows the gap in days, perfect for a Delivery Days metric.
To remove unwanted values like not specified, click the filter arrow on the relevant column, uncheck that value and accept. The preview shows around 1,000 rows, but the filter applies to the full dataset, not just the preview.
How do I make Power Query refresh automatically when new files arrive?
Once all transformations are recorded, go to Transform > Detect Data Type to make sure each column carries the right format. The ABC123 icon next to each header tells you the current type. Adjust manually where needed, for example switching the discount column from number to Percentage and choosing Replace current when prompted.
Then click Home > Close & Load > Close & Load To and choose Table. Your cleaned, combined data lands in Excel as a refreshable table.
Here is the payoff: drop the 2019 and 2020 files into the same folder, hit Refresh, and Power Query reapplies every step (header fix, name extraction, column split, sales amount, delivery days, filter, data types) to the new files automatically. Your dashboards and pivot tables connected to this table update with them.
Key skills, concepts and timestamps from the lesson
- Combine and Transform vs Combine and Load: choose the first when files need cleaning before merging [3:18].
- Transpose + Merge Columns + Transpose: the standard pattern to fix two row headers [4:45].
- Use First Row as Headers: promotes a row to header from the table icon [5:40].
- Column from Examples: infers text extraction patterns without writing formulas [6:30].
- Split Column by Custom Delimiter: separates concatenated fields like space dash space [7:25].
- Add Column > Standard > Multiply: creates calculated columns from selected fields [8:00].
- Date > Subtract Days: returns the difference between two date columns, respecting selection order [8:30].
- Detect Data Type: assigns text, number, date or percentage formats automatically [10:30].
- Close & Load To Table: outputs the cleaned dataset as a refreshable Excel table [11:40].
Which of these steps would save you the most hours every week? Share in the comments which file you would automate first.