Creating Python Virtual Environments With venv
Contenido del curso
Calidad y Profesionalismo del Código
Manejo de Datos y Recursos
Optimización y Pruebas
Creación de Aplicaciones de Consola
- 19
UV: Faster Python Dependency Management
07:17 min - 20

How Python Modules Keep Your Code Organized
07:14 min - 21
Organizing Python Code Into Packages
09:06 min - 22
Función enumerate en Python para indexar listas automáticamente
09:31 min - 23
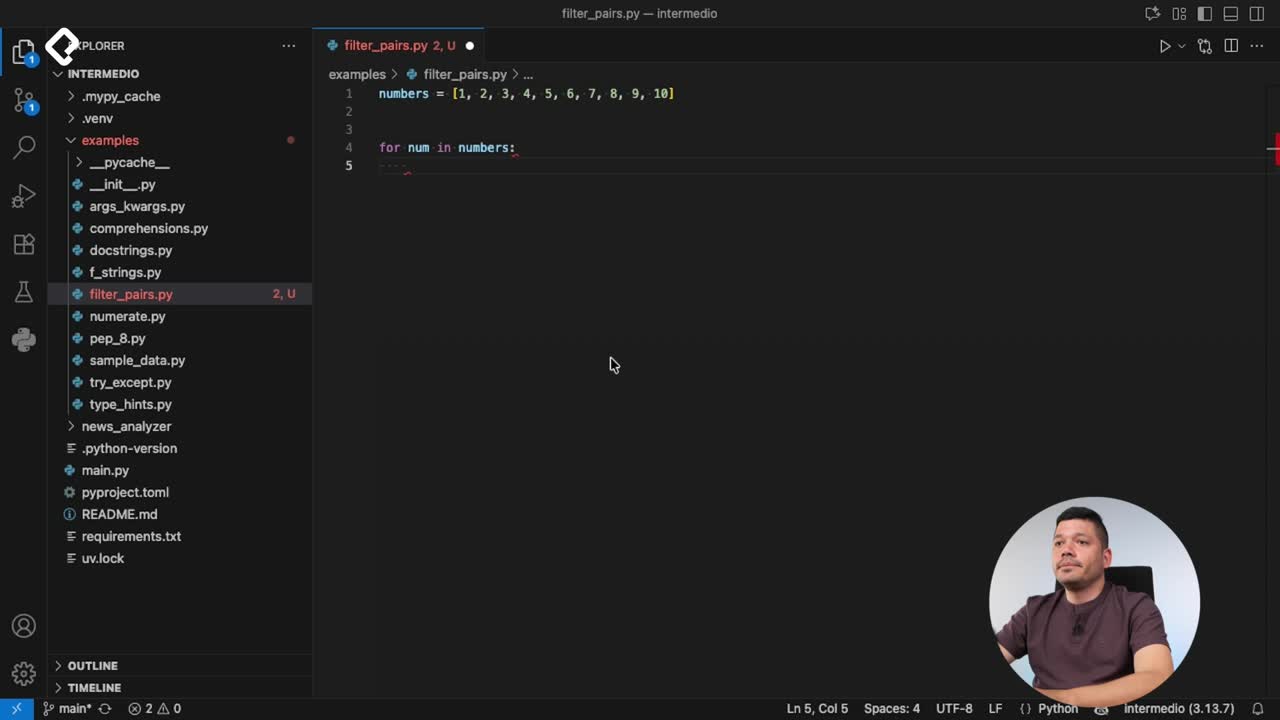
Filtrado de listas con filter en Python
11:44 min - 24
Función map para calcular tiempo de lectura en Python
08:59 min - 25
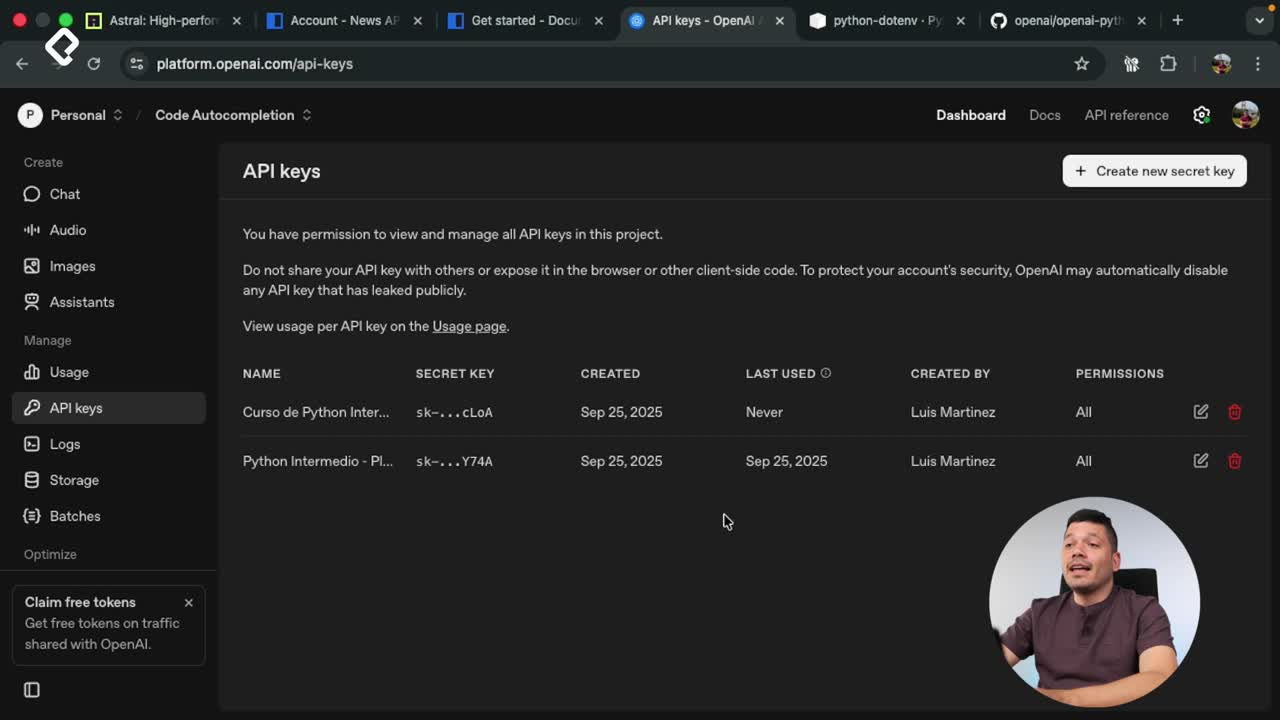
Conexión de OpenAI API con variables de entorno en Python
11:17 min
Creating Python Virtual Environments With venv
Resumen
Setting up a Python virtual environment with venv is the cleanest way to isolate dependencies, avoid version conflicts, and share reproducible projects with other developers. If you are starting a Python application and want each project to have its own packages, this walkthrough shows you exactly how to do it from the terminal.
How do you check your Python installation before creating a venv?
Before creating anything, you need to confirm which Python you are actually running. Open your terminal and run python --version to see the installed version. Then run which python to find where that executable lives.
On many systems, python is just an alias for python3, so it is worth running which python3 too. On macOS with Homebrew, for example, the path will point to the Homebrew installation folder [00:33].
What does
which pythondo? It prints the absolute path of the Python executable your shell is using. This helps you confirm which interpreter will run when you typepython.
How do you create a virtual environment with venv?
The command to create the environment is short and predictable. From your project folder, run:
bash python -m venv newsenv
Here -m tells Python to run a module, venv is the module name (short for virtual environment), and newsenv is the folder name you choose for the environment [01:13]. As soon as you hit enter, a new folder appears in your project. If you use Visual Studio Code, the editor will detect it and ask if you want to select it as the active interpreter.
What is inside the venv folder?
Knowing the structure helps you understand what venv actually does. Inside newsenv you will find:
- A
binfolder with the Python executables, thepipexecutables, and four activation scripts. One script works on Linux and macOS; the others cover Windows shells. - An
includefolder with aPython 3.13subfolder where extra files land when you runpip install. - A
libfolder that starts almost empty, with onlypipinstalled so you can add packages from scratch. - A
pyvenv.cfgconfiguration file that records the home path and Python version used by the environment [02:30].
How do you activate and deactivate a virtual environment?
To turn the environment on, use the source command pointing to the activation script:
bash source newsenv/bin/activate
Once active, run which python3 again. Instead of pointing to Homebrew, it now points to the Python executable inside your newsenv/bin folder [04:01]. That is your signal that the isolation is working.
When you finish working, simply type deactivate. Your shell goes back to the system Python, and which python3 will again show the Homebrew path. Being aware of which environment is active is critical, especially when juggling several projects.
How do I know which virtual environment is active in VS Code? Install the Python Environments extension. It adds an icon that shows the active environment and the list of installed dependencies, so you can switch with one click.
How do you install and manage dependencies with pip and PyPI?
Python packages live on PyPI, the official Python Package Index. Search for a library there, copy the install command, and run it inside your activated environment. For example, to add the formatter Ruff:
bash pip install ruff
To see everything installed in your environment, run pip list. You will see both pip and any package you added, like ruff [05:46].
How do you share dependencies with a requirements.txt file?
Your virtual environment stays on your computer, but your collaborators need the same packages. The standard solution is a requirements.txt file generated with:
bash pip freeze > requirements.txt
pip freeze returns each dependency with its exact version pinned using ==. That guarantees other developers install the same version you tested against. To install from that file, anyone on the team runs:
bash pip install -r requirements.txt
The -r flag tells pip to read a requirements file. If you ever need to remove a package, use pip uninstall ruff and confirm with yes. Reinstalling from requirements.txt will pull the pinned version, often from cache, in seconds [07:30].
Why pin versions in requirements.txt? Because an automatic update of a dependency could break your app. Pinning with
==keeps the build reproducible and predictable across machines.
What are the best practices for working with Python virtual environments?
A few habits will save you headaches down the road:
- Never commit the virtual environment folder to your repository. Add it to
.gitignoreso it stays only on your machine. - Always pin versions in
requirements.txtso a third party update does not break your application. - Confirm the active environment with
which python3before installing anything new. - Use editor extensions like Python Environments in VS Code to visualize the active venv and its packages.
As a challenge, look up the python-dotenv library. It lets you move sensitive values like an API key out of your configuration file and into a .env file, protecting your credentials from misuse.
Which part of your Python workflow do you want to clean up first, dependency pinning or environment isolation? Share your setup in the comments.