AI Avatar Generator with AsyncStorage
Contenido del curso
Módulo 2: Construcción de la Interfaz de Usuario
- 5
Using const, let, and Conditionals in JSX
10:35 min - 6
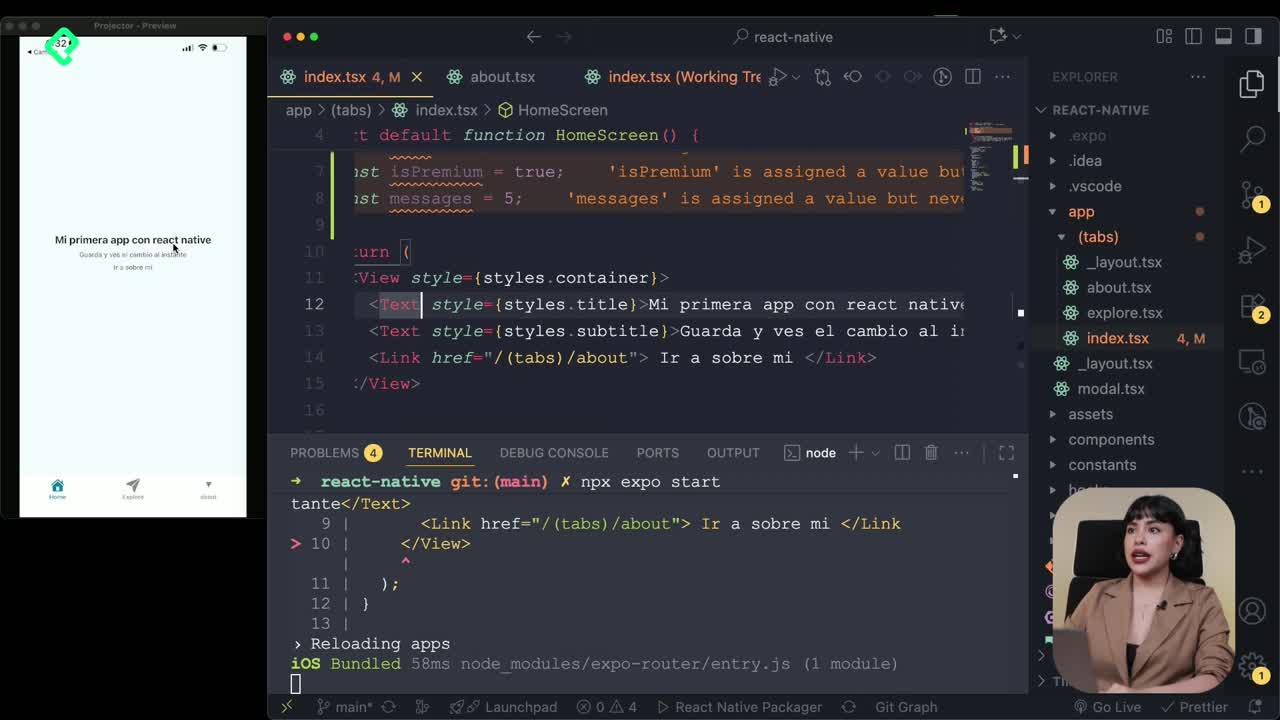
Reusable Components with Props in React Native
14:49 min - 7

Conditional Styles With StyleSheet in React Native
11:24 min - 8

Dark Mode Theming in React Native Apps
13:07 min - 9
Making React Native Dynamic with useState
12:12 min - 10

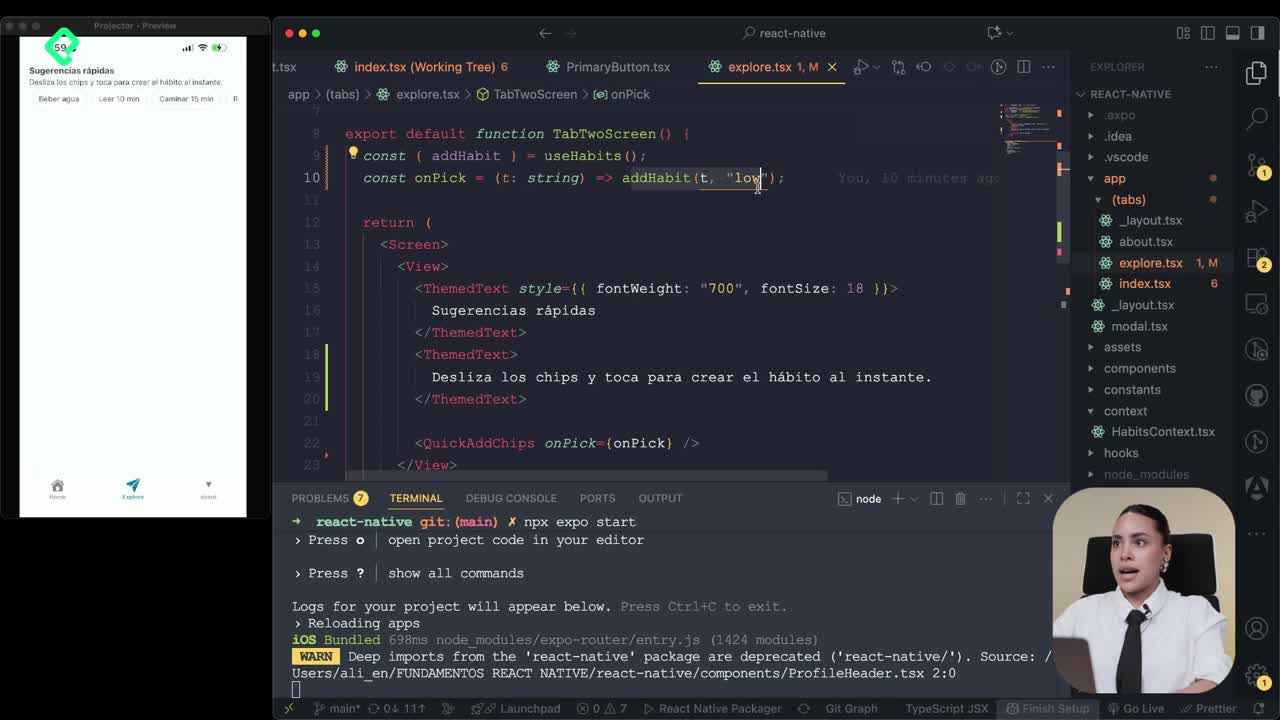
Adding Habits and Streaks With React Native State
13:24 min - 11
Pressable vs TouchableOpacity in React Native
09:36 min
Módulo 3: Interactividad y Manejo de Datos
- 12
ScrollView vs FlatList in a Habits Carousel
10:50 min - 13
Diferencias entre ScrollView y FlatList para listas grandes
09:47 min - 14
Instalación de Async Storage para persistencia de datos en React Native
14:54 min - 15
Persisting Habits with AsyncStorage Context
12:07 min - 16

Persisting Habits with AsyncStorage and Context
13:19 min - 17
Confetti Animation With a Fake API Service
11:58 min - 18
Cómo crear una ExploreCard específica para iOS y Android
09:47 min - 19

Explore Tab Carousel With FlatList
12:49 min - 20

AI Avatar Generator with AsyncStorage
Viendo ahora - 21
Camera and Gallery Access in React Native
16:01 min
Módulo 4: Visualización de Listas y Contenido
AI Avatar Generator with AsyncStorage
Resumen
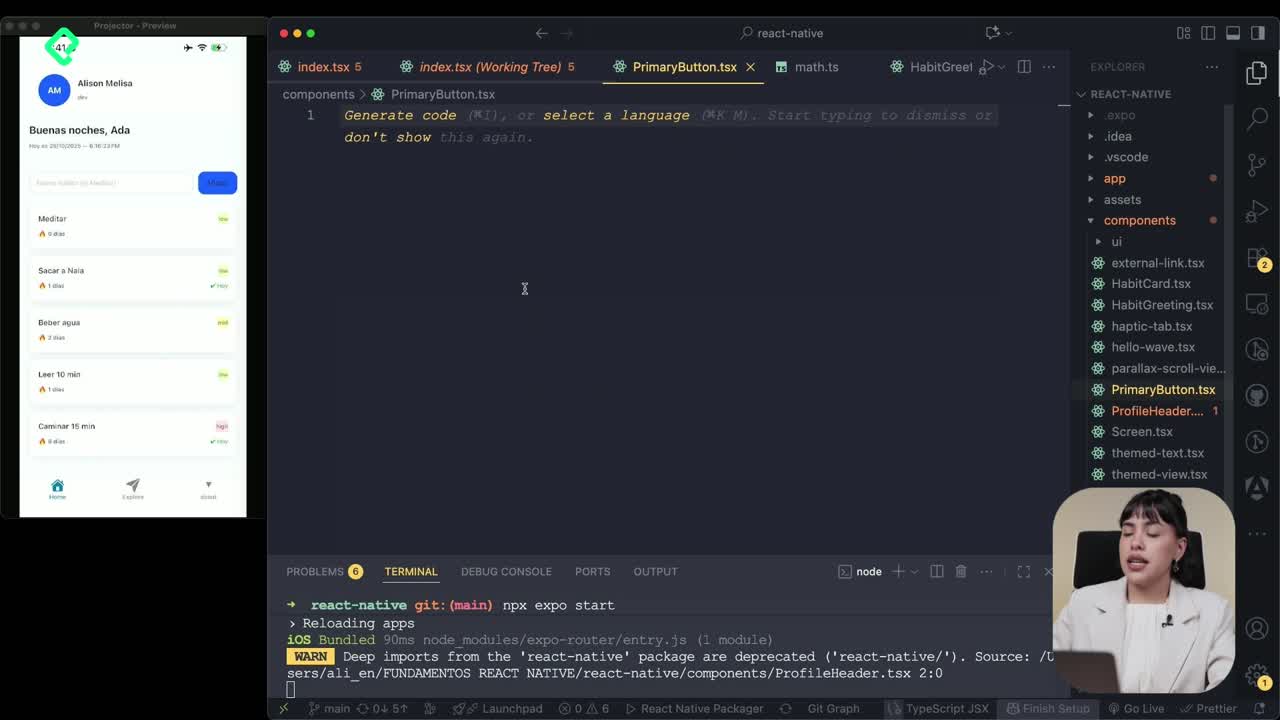
Building a personalized profile tab in React Native means combining persistent storage, a custom context provider, and an AI-powered avatar generator. You will learn how to wire a ProfileContext with AsyncStorage, expose update functions, and call an external API that returns random avatars based on a seed. This guide is for React Native developers who already manage tabs and want to add a third one focused on user identity.
What does the profile context do in a React Native app?
The profile context centralizes the user data and makes it available to any tab that needs it. It also persists changes so the avatar survives app restarts.
The setup starts with a new file inside the contexts folder using the .tsx extension. Inside, you define a storeKey for AsyncStorage, an interface with name, role and avatar link, and a CTX type that exposes loading state, profile data and two functions: update profile and set avatar.
What is a context in React Native? It is a mechanism to share state between components without prop drilling. You create it with
createContextand consume it withuseContextthrough a custom hook likeuseProfile.
A default profile object initializes the context when no data exists yet. This avoids null checks across the app and keeps the type contract clean.
How do I create the ProfileContext and its hook?
You call createContext and pass the type you defined earlier. The initial value mirrors the model: loading starts in true, profile takes the default object, and the two functions begin as empty async promises.
To expose it, you export a useProfile constant that wraps useContext(ProfileContext). Any screen that calls this hook gets typed access to the profile and its actions.
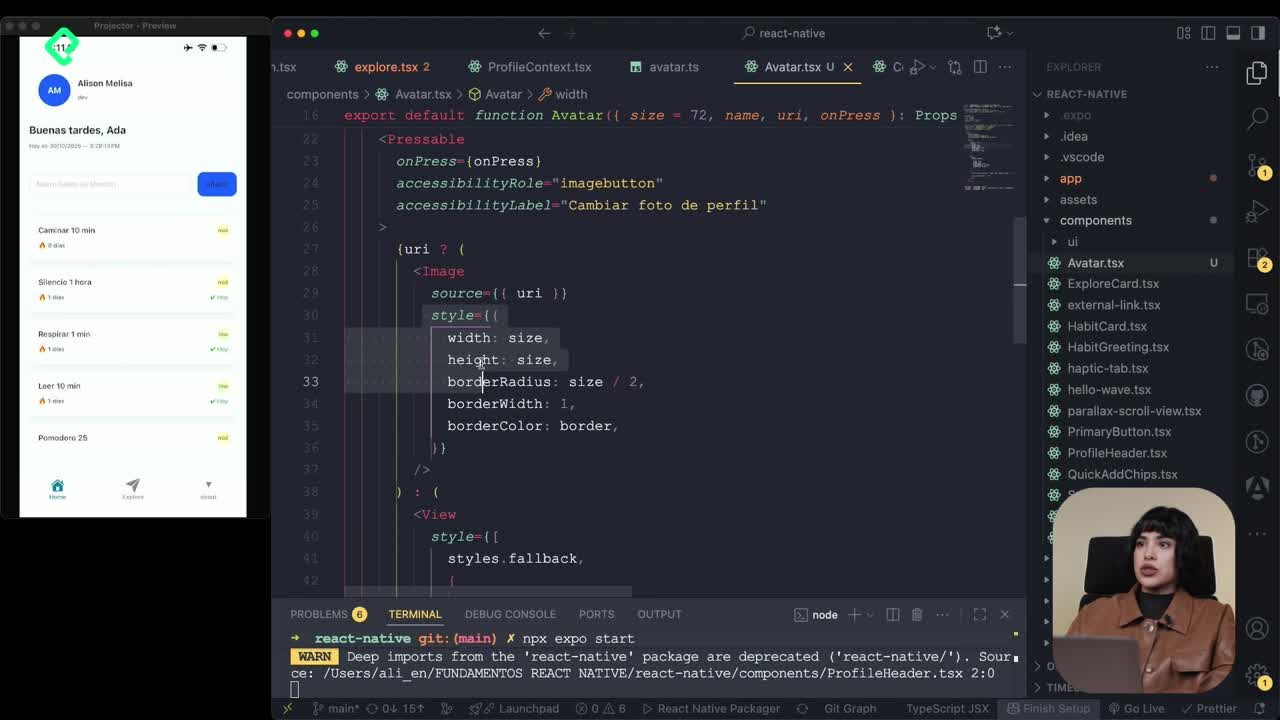
How do I persist the avatar with AsyncStorage?
Persistence happens inside the provider. The provider returns a node, manages two useState hooks for loading and profile, and runs a useEffect on mount to hydrate from storage.
The hydration uses an async function with try/catch. It calls AsyncStorage.getItem with the storeKey, parses the result, and pushes it into state if it exists. The finally block sets loading to false so the UI knows when to render.
- Use a single
storeKeyconstant to avoid typos across reads and writes. - Wrap every storage call in
try/catchto handle corrupted entries. - Always close the loading state in
finally, not insidetry.
A shared persist function handles writes. It receives a profile, updates the state with setProfile, and stores the JSON string in AsyncStorage. Both updateProfile and setAvatar reuse this same function, which keeps the logic dry.
Why reuse a persist function? Because every mutation needs to update both memory and disk. Centralizing it means one place to debug and one place to extend if you add encryption or remote sync later.
The value returned by the provider lives inside a useMemo so React does not recreate the object on every render. The provider then wraps ProfileContext.Provider around children, exposing the value to every tab below it.
How does the AI avatar generator work?
The avatar service relies on a public API that returns images based on a seed and style keywords. The trick is to randomize the seed on every call so the avatar feels fresh.
First, you write a helper that builds a random seed by mixing the username with a timestamp and some math. A second helper called pick selects a random element from an array, which you reuse for both the style and the background color.
- Define an array of style keywords that guide the image generation.
- Define an array of background colors used as the image backdrop.
- Combine name plus date inside
encodeURIComponentto keep the URL valid.
The main function takes a name, picks a random style, builds the seed, picks a background, and returns the final URL. Because the seed shifts with every call, two consecutive requests for the same user produce different avatars.
What goes into the final URL?
The URL points to an image API and carries three query parameters: the chosen style, the encoded seed, and the background color. The function returns this string so any component can drop it into an Image source.
This pattern separates concerns cleanly. The context owns state and persistence. The service owns URL construction. The component layer just renders what it receives.
With the context, the provider, and the avatar service in place, you have everything needed to build a reusable Avatar component that pulls from useProfile and displays the generated image. Try wiring it yourself and share in the comments how you handled the loading state before the avatar resolves.