Configuring Google Play Console Before Your First Release
Contenido del curso
Módulo 2: Construcción de la Interfaz de Usuario
- 5
Using const, let, and Conditionals in JSX
10:35 min - 6
Reusable Components with Props in React Native
14:49 min - 7
Conditional Styles With StyleSheet in React Native
11:24 min - 8
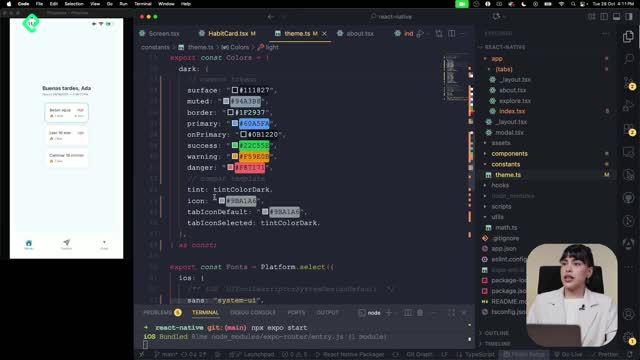
Dark Mode Theming in React Native Apps
13:07 min - 9
Making React Native Dynamic with useState
12:12 min - 10
Adding Habits and Streaks With React Native State
13:24 min - 11
Pressable vs TouchableOpacity in React Native
09:36 min
Módulo 3: Interactividad y Manejo de Datos
- 12
ScrollView vs FlatList in a Habits Carousel
10:50 min - 13
Diferencias entre ScrollView y FlatList para listas grandes
09:47 min - 14
Instalación de Async Storage para persistencia de datos en React Native
14:54 min - 15
Persisting Habits with AsyncStorage Context
12:07 min - 16

Persisting Habits with AsyncStorage and Context
13:19 min - 17
Confetti Animation With a Fake API Service
11:58 min - 18
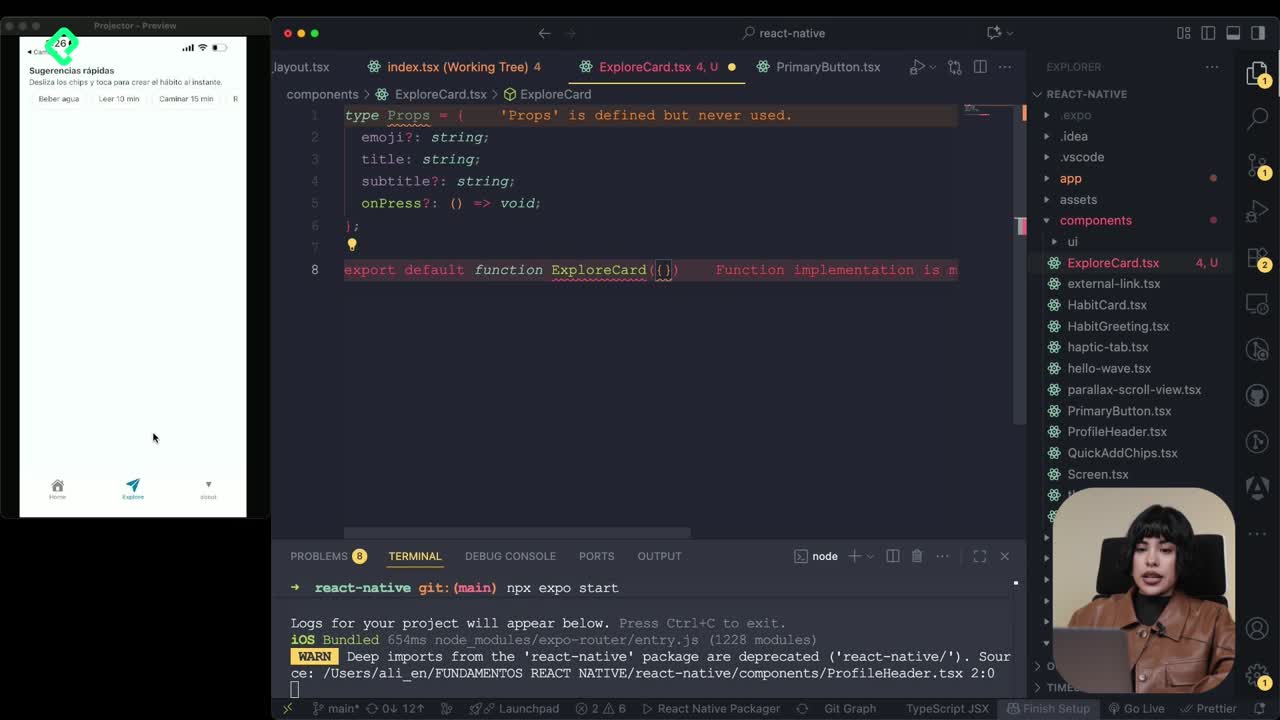
Cómo crear una ExploreCard específica para iOS y Android
09:47 min - 19
Explore Tab Carousel With FlatList
12:49 min - 20
AI Avatar Generator with AsyncStorage
12:32 min - 21
Camera and Gallery Access in React Native
16:01 min
Módulo 4: Visualización de Listas y Contenido
Configuring Google Play Console Before Your First Release
Resumen
Publishing an app on Google Play Console means filling out structured forms, declarations, and assets before Google lets you push your AAB file to testers or the public. If you are getting ready to launch a React Native app, this walkthrough shows you exactly which sections to complete, why each one matters, and how to avoid getting stuck on the dashboard checklist.
What is Google Play Console and why does it matter for your release?
Google Play Console is the platform where you register, configure, and publish Android apps. Before you upload anything, you create the app entry, choose a name, set the language, and declare whether it is a game or an app, plus whether it is free or paid. You also accept the terms and declarations to move forward.
What is an AAB file? It is the Android App Bundle, the publishing format Google Play requires instead of an APK. You upload it inside a release to start testing or distribution.
Once the app is created, the dashboard becomes your checklist. Every task there must be completed before you can submit a release.
How do you set up the privacy policy and content declarations?
The first blocker most developers hit is the privacy policy URL. Google requires a public link describing what data your app collects and how it is handled.
If you only need a test version, you can use a privacy policy generator, select your country, and declare what your app collects. In the example app, the only data captured is first name and last name, plus camera permissions. There is no Google Analytics, no OTP email messages, and no ads. The generator emails you a link, and you paste that URL directly into the Play Console field.
From there, you keep filling forms:
- Restrictions: declare if the app is limited to certain audiences.
- Ads: confirm whether the app shows advertising.
- Content ratings: complete the questionnaire about violence, communication features, shareable audio or images, and age restrictions.
- Target audience: pick the age group, in this case 18+, although younger users can still install it.
- Data safety: declare what information is collected and stored.
- Government app: confirm it is not a public sector product.
- Financial features: declare if the app handles payments or transfers.
What are content ratings on Google Play? They are the age and content labels shown on every app listing. You get them by answering a questionnaire about violence, sharing features, and sensitive content.
How do you choose the category, contact, and store listing?
After the declarations, you define how your app appears in the store. You select the type of app, in this example a habits app that fits under the Other category before refining it with tags. You add a contact email, which is mandatory, and apply the changes.
The store listing requires:
- The app name.
- A short description.
- A long description.
- An icon that works across multiple sizes.
- A feature graphic used as the top banner.
- Screenshots from phone and tablet, both required.
For the icon, an external generator helps you upload a single image and download a zip with every Android size you need. You then upload that icon, pick a feature graphic that matches Google's dimensions, and add at least the screenshots from the devices you have available. Extra assets are optional, so you can save and continue.
How do you upload the AAB and create your first release?
With every dashboard tag completed, the release section unlocks. You head to Internal testing, which is the safest first stop before production, and create a new release.
Inside the release you:
- Upload the AAB file generated from your React Native build.
- Wait for Google Play to process it.
- Name the release so you can identify this version later.
- Click next to move into the testing phase.
What is internal testing on Google Play? It is a release track for a small group of trusted testers. You upload your AAB there first to validate the app before promoting it to closed, open, or production tracks.
If an error appears, it is often tied to the developer account configuration rather than the build itself. Once the release is in place, the dashboard updates and shows you are closer to publishing, although testing is still required before going live.
What should you keep in mind when publishing a React Native app?
The Play Console flow is the same regardless of whether you built the app with React Native, Flutter, or native Android. What changes is the build output: you must export an AAB from your React Native project and have your icons and screenshots ready in the sizes Google expects.
Treat the privacy policy seriously when you move beyond testing, keep your contact email active, and review every declaration so it matches what your app actually does. That alignment is what gets your release approved without back and forth.
If you are building habit trackers, productivity tools, or any idea you want in users' hands, this is the bridge between your code and a real download. Tell me in the comments which app you are preparing to publish.