ScrollView vs FlatList in a Habits Carousel
Contenido del curso
Módulo 2: Construcción de la Interfaz de Usuario
- 5
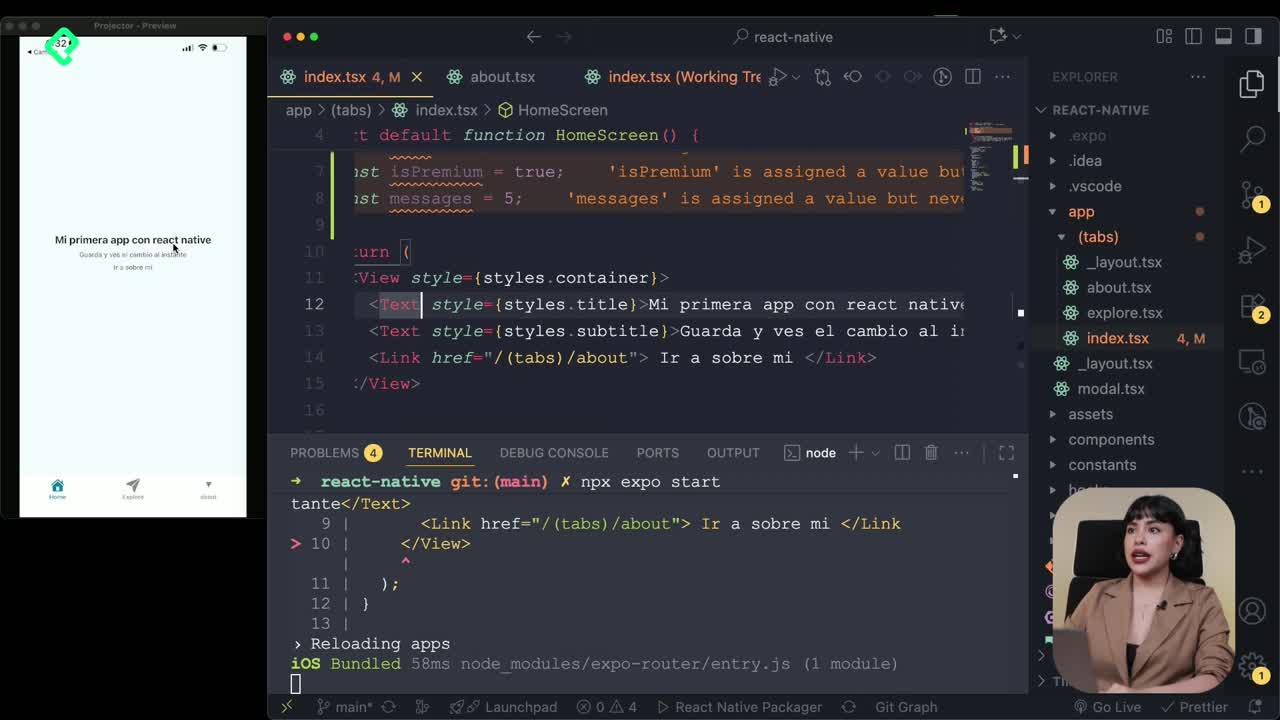
Using const, let, and Conditionals in JSX
10:35 min - 6
Reusable Components with Props in React Native
14:49 min - 7

Conditional Styles With StyleSheet in React Native
11:24 min - 8
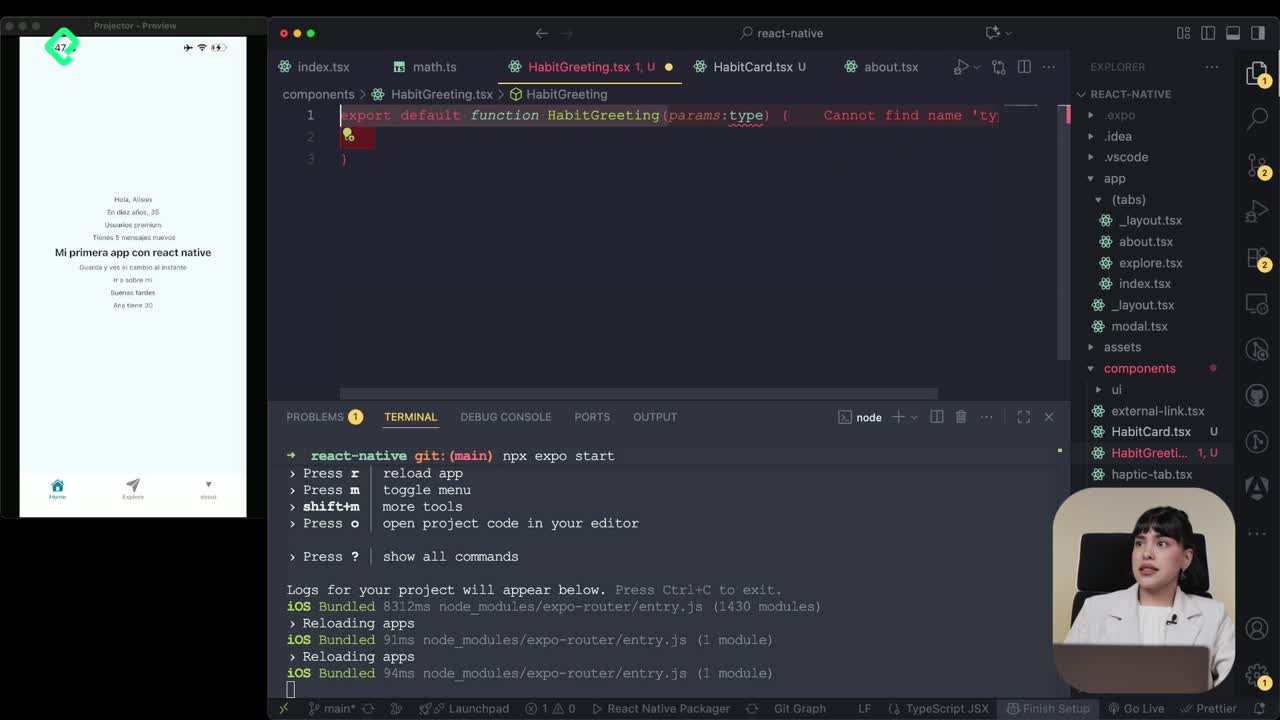
Dark Mode Theming in React Native Apps
13:07 min - 9
Making React Native Dynamic with useState
12:12 min - 10

Adding Habits and Streaks With React Native State
13:24 min - 11
Pressable vs TouchableOpacity in React Native
09:36 min
Módulo 3: Interactividad y Manejo de Datos
- 12
ScrollView vs FlatList in a Habits Carousel
Viendo ahora - 13
Diferencias entre ScrollView y FlatList para listas grandes
09:47 min - 14
Instalación de Async Storage para persistencia de datos en React Native
14:54 min - 15
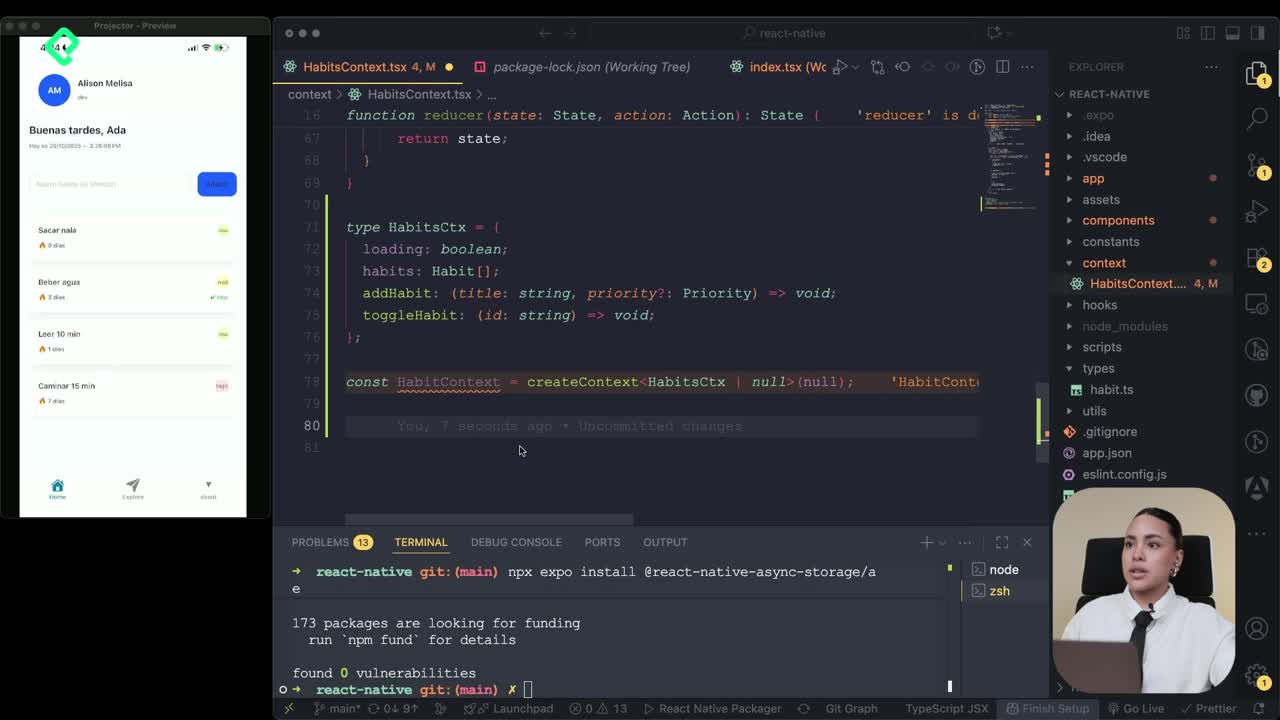
Persisting Habits with AsyncStorage Context
12:07 min - 16

Persisting Habits with AsyncStorage and Context
13:19 min - 17
Confetti Animation With a Fake API Service
11:58 min - 18
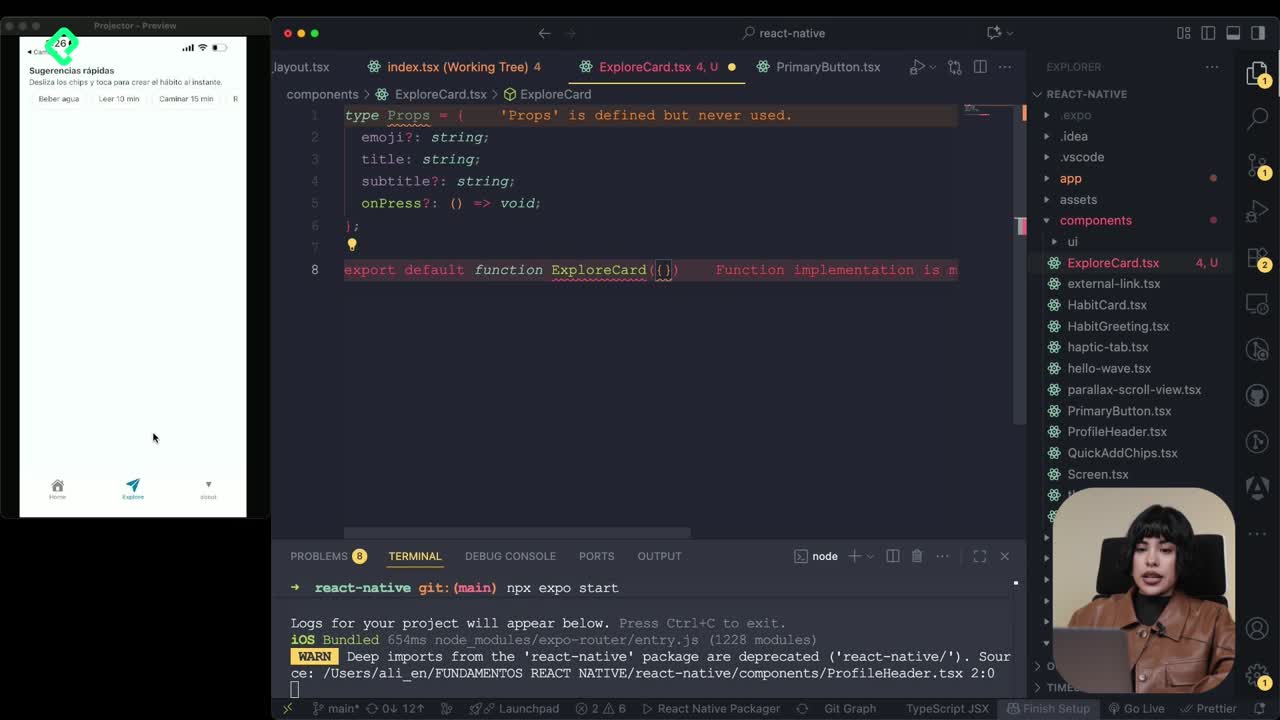
Cómo crear una ExploreCard específica para iOS y Android
09:47 min - 19
Explore Tab Carousel With FlatList
12:49 min - 20

AI Avatar Generator with AsyncStorage
12:32 min - 21
Camera and Gallery Access in React Native
16:01 min
Módulo 4: Visualización de Listas y Contenido
ScrollView vs FlatList in a Habits Carousel
Resumen
Building a horizontal carousel of suggested habits in React Native takes two key pieces: a ScrollView for quick-pick chips and a FlatList for rendering the selected items. You'll learn how both connect through state inside an Explore screen, why each component fits a different job, and how to keep your UI reusable.
Why use a horizontal carousel for quick suggestions?
A horizontal carousel works as a fast entry point. Instead of forcing the user to type a new habit, you offer a scrollable row of chips they can tap to add instantly to a list.
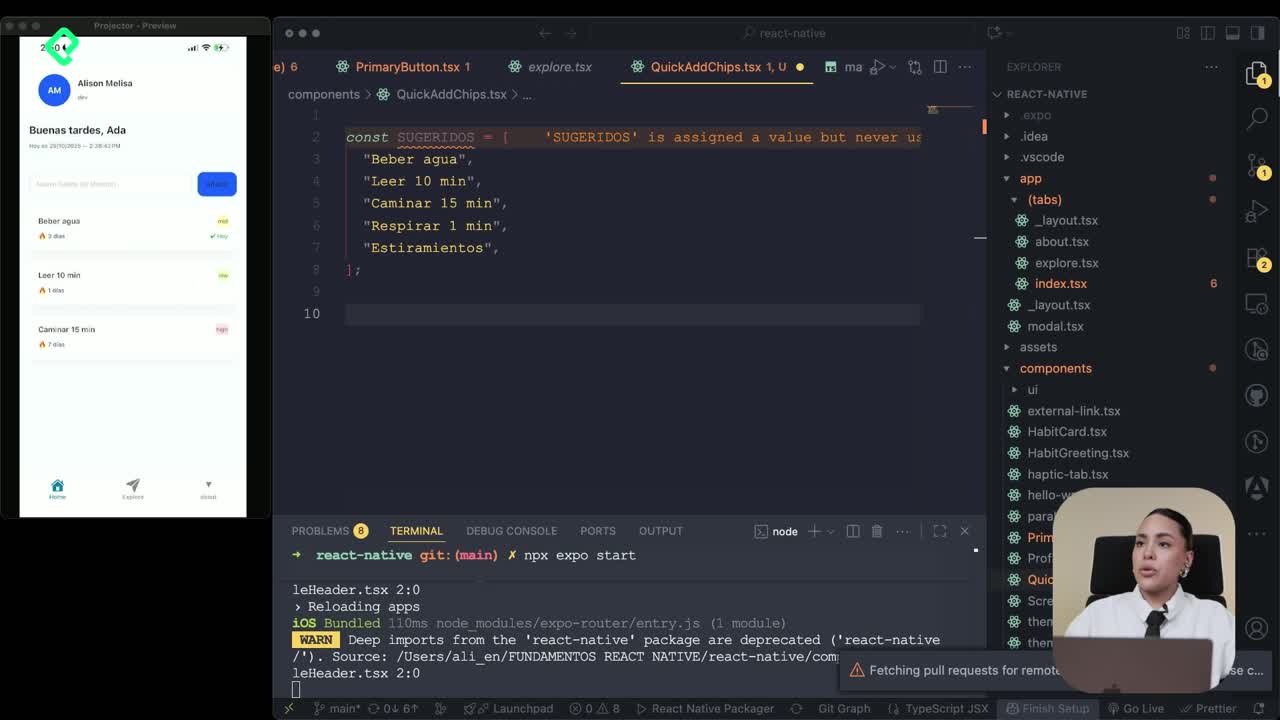
The component lives in a new file called quickAddChips. Inside it, you define a small array of suggested habits and expose the functionality so the Explore screen can consume it [00:55].
What is a ScrollView in React Native? It's a container that lets content scroll in one direction. Set
horizontalto true and it becomes a side-scrolling carousel.
How do you configure the ScrollView as a carousel?
Three props do the heavy lifting:
horizontalset to true so items scroll left to right.showsHorizontalScrollIndicatorset to false to hide the scroll bar.- A
contentContainerStylewith padding to space the chips visually.
Once the container is ready, you map the suggestions array. Each item renders as a Pressable button with a unique id based on the title, plus border and spacing styles to make it look like a chip [02:20].
How do you handle the selection state?
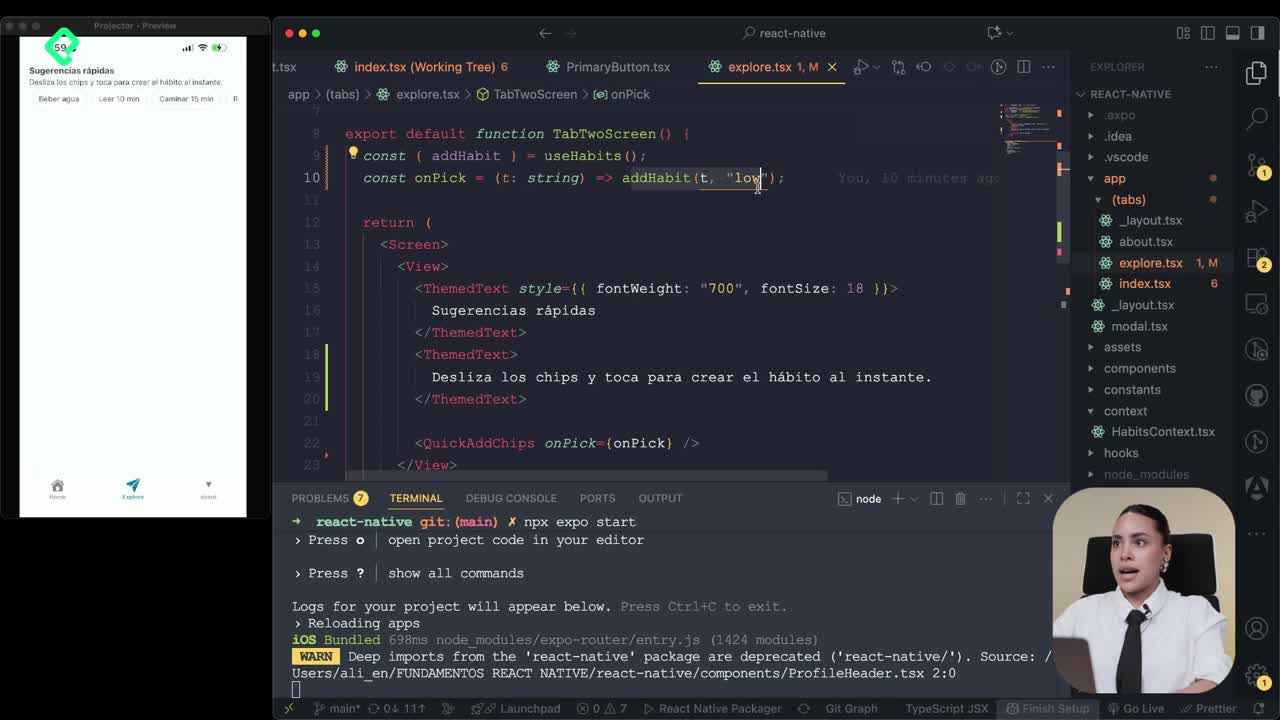
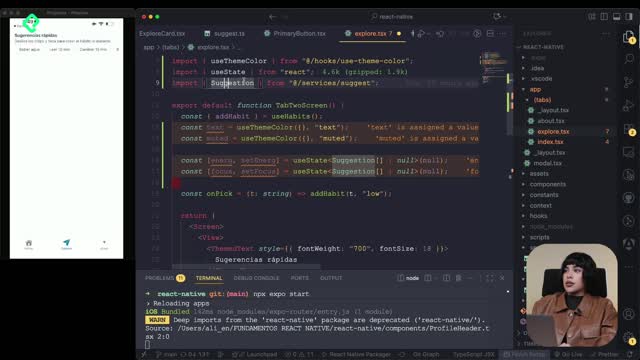
The component receives an onPick prop, a function that fires when the user taps a chip. You initialize it with the habit title as a string and an empty function as default. That way the parent screen decides what happens with the selection [01:25].
This pattern keeps the chip component dumb and reusable. The Explore screen owns the state and the logic.
How does the Explore tab manage the selected habits?
The Explore screen uses useState to store the list of habits the user has picked from the carousel. Every time a chip is tapped, the new habit is appended to the existing array.
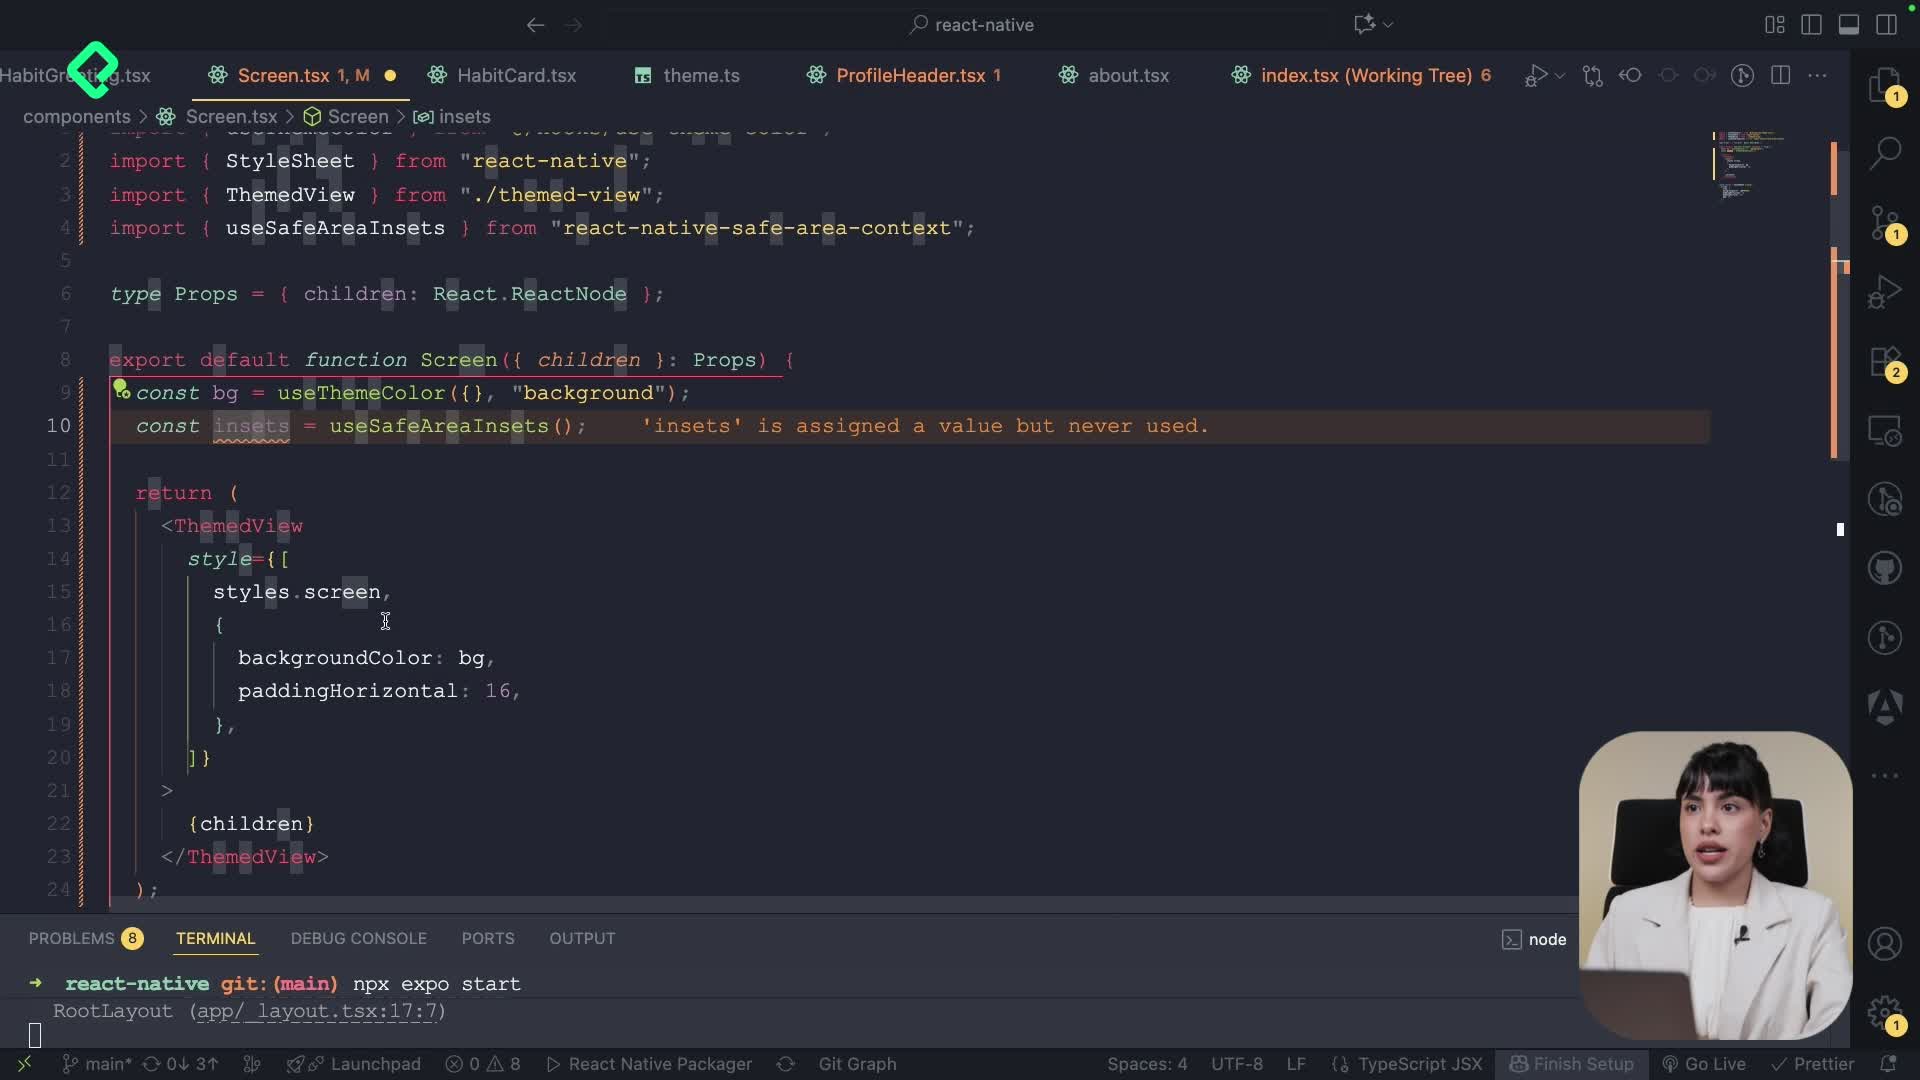
You wrap the screen with a reusable screen component that handles the safe area, then add a view with two text labels: one for the quick suggestions and another above the selected list [03:35].
What's the difference between ScrollView and FlatList? ScrollView renders all children at once, ideal for short horizontal rows. FlatList renders items lazily, perfect for dynamic lists that can grow.
Why use FlatList for the selected items?
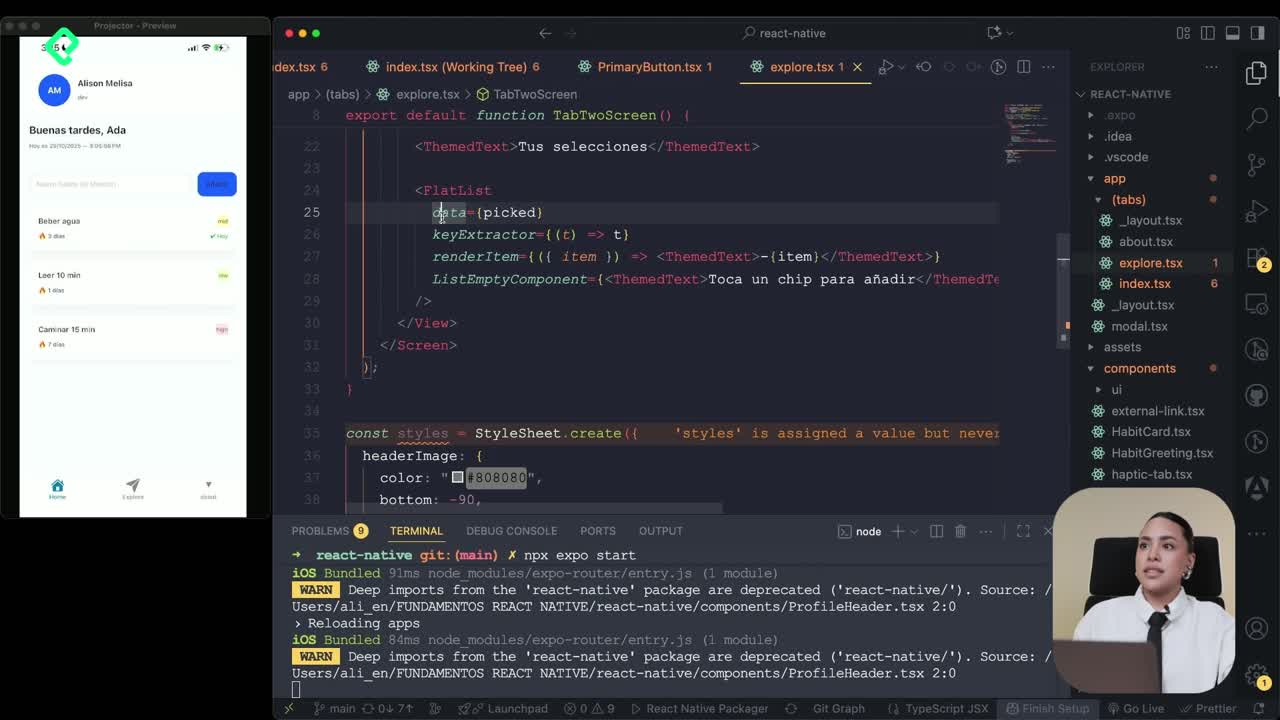
The selected habits go into a FlatList because the list grows as the user picks more chips. FlatList needs three core props:
data: the state array holding the picks.keyExtractor: returns a unique key per item, in this case the title.renderItem: a function that receives{ item }and returns the JSX to display, here a text component showing the habit title with a bullet style.
You import FlatList from react-native, not from the theme library used for other components [04:50].
How do you handle an empty list?
FlatList ships with a ListEmptyComponent prop. You pass a small text saying "Tap a chip to add" so the user knows what to do when nothing is selected yet [05:30].
This tiny detail turns an empty state into a guided action.
What does the final Explore screen look like?
After importing the QuickAddChips component and passing the state plus the setter as props, the Explore tab shows:
- A header with a quick suggestions label.
- A horizontal carousel of habit chips built with ScrollView.
- A label for selected items.
- A FlatList that updates every time a chip is tapped.
The state pattern here sets up the next feature: pushing a habit directly from Explore into the Home tab. Same state logic, new destination.
If you've followed along, your second tab now has real interactivity. Drop a comment with the habits you added to your suggestions array, I'd love to see what you're tracking.