Camera and Gallery Access in React Native
Contenido del curso
Módulo 2: Construcción de la Interfaz de Usuario
- 5
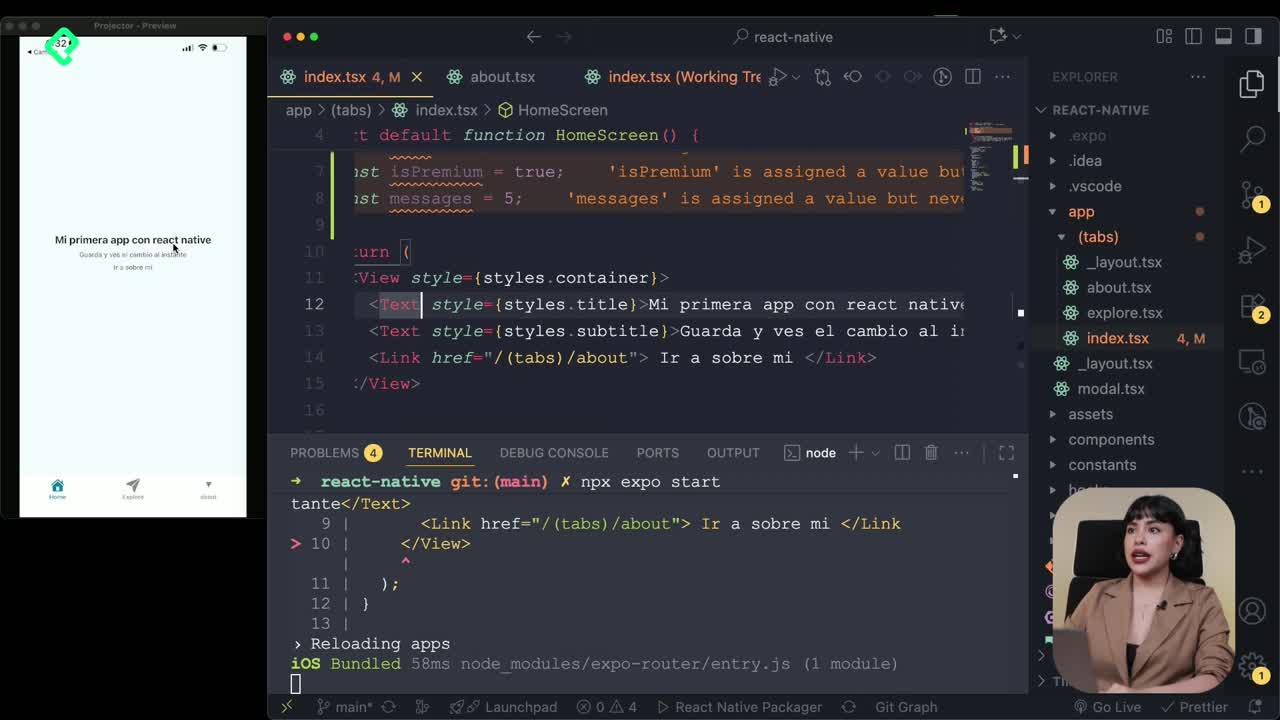
Using const, let, and Conditionals in JSX
10:35 min - 6
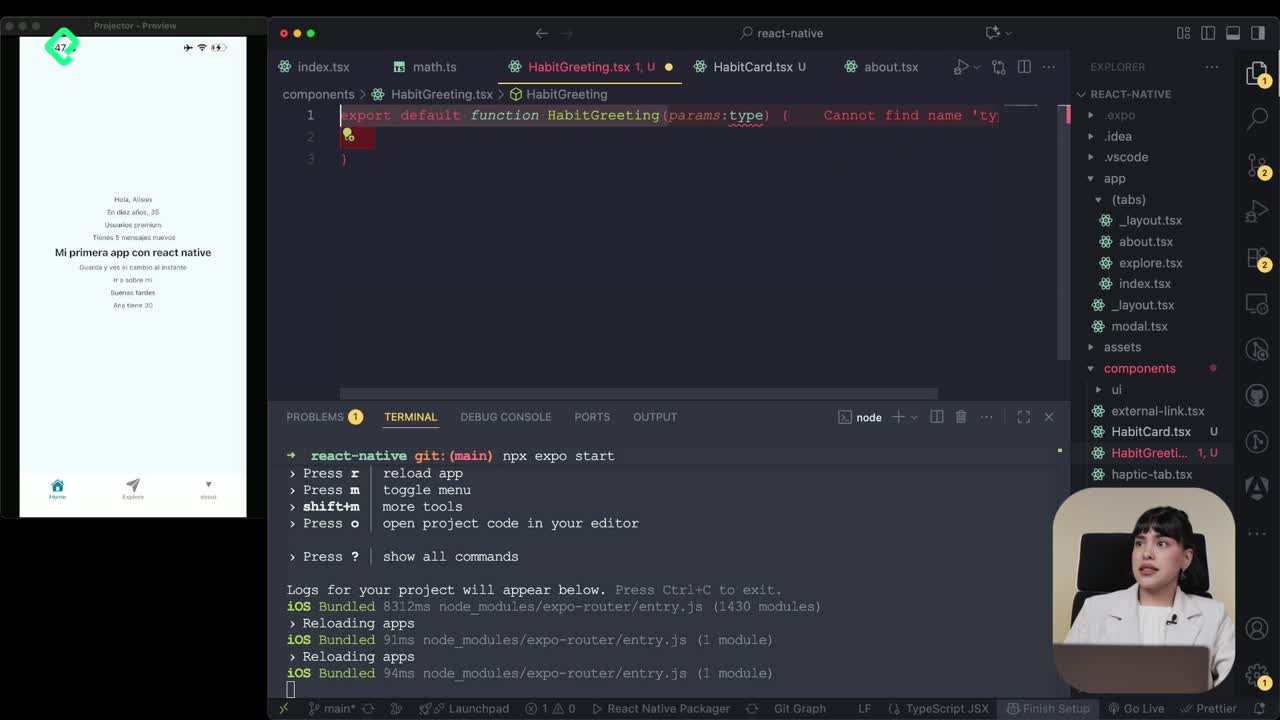
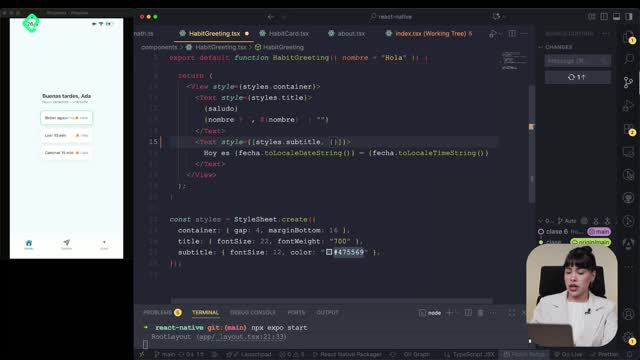
Reusable Components with Props in React Native
14:49 min - 7
Conditional Styles With StyleSheet in React Native
11:24 min - 8

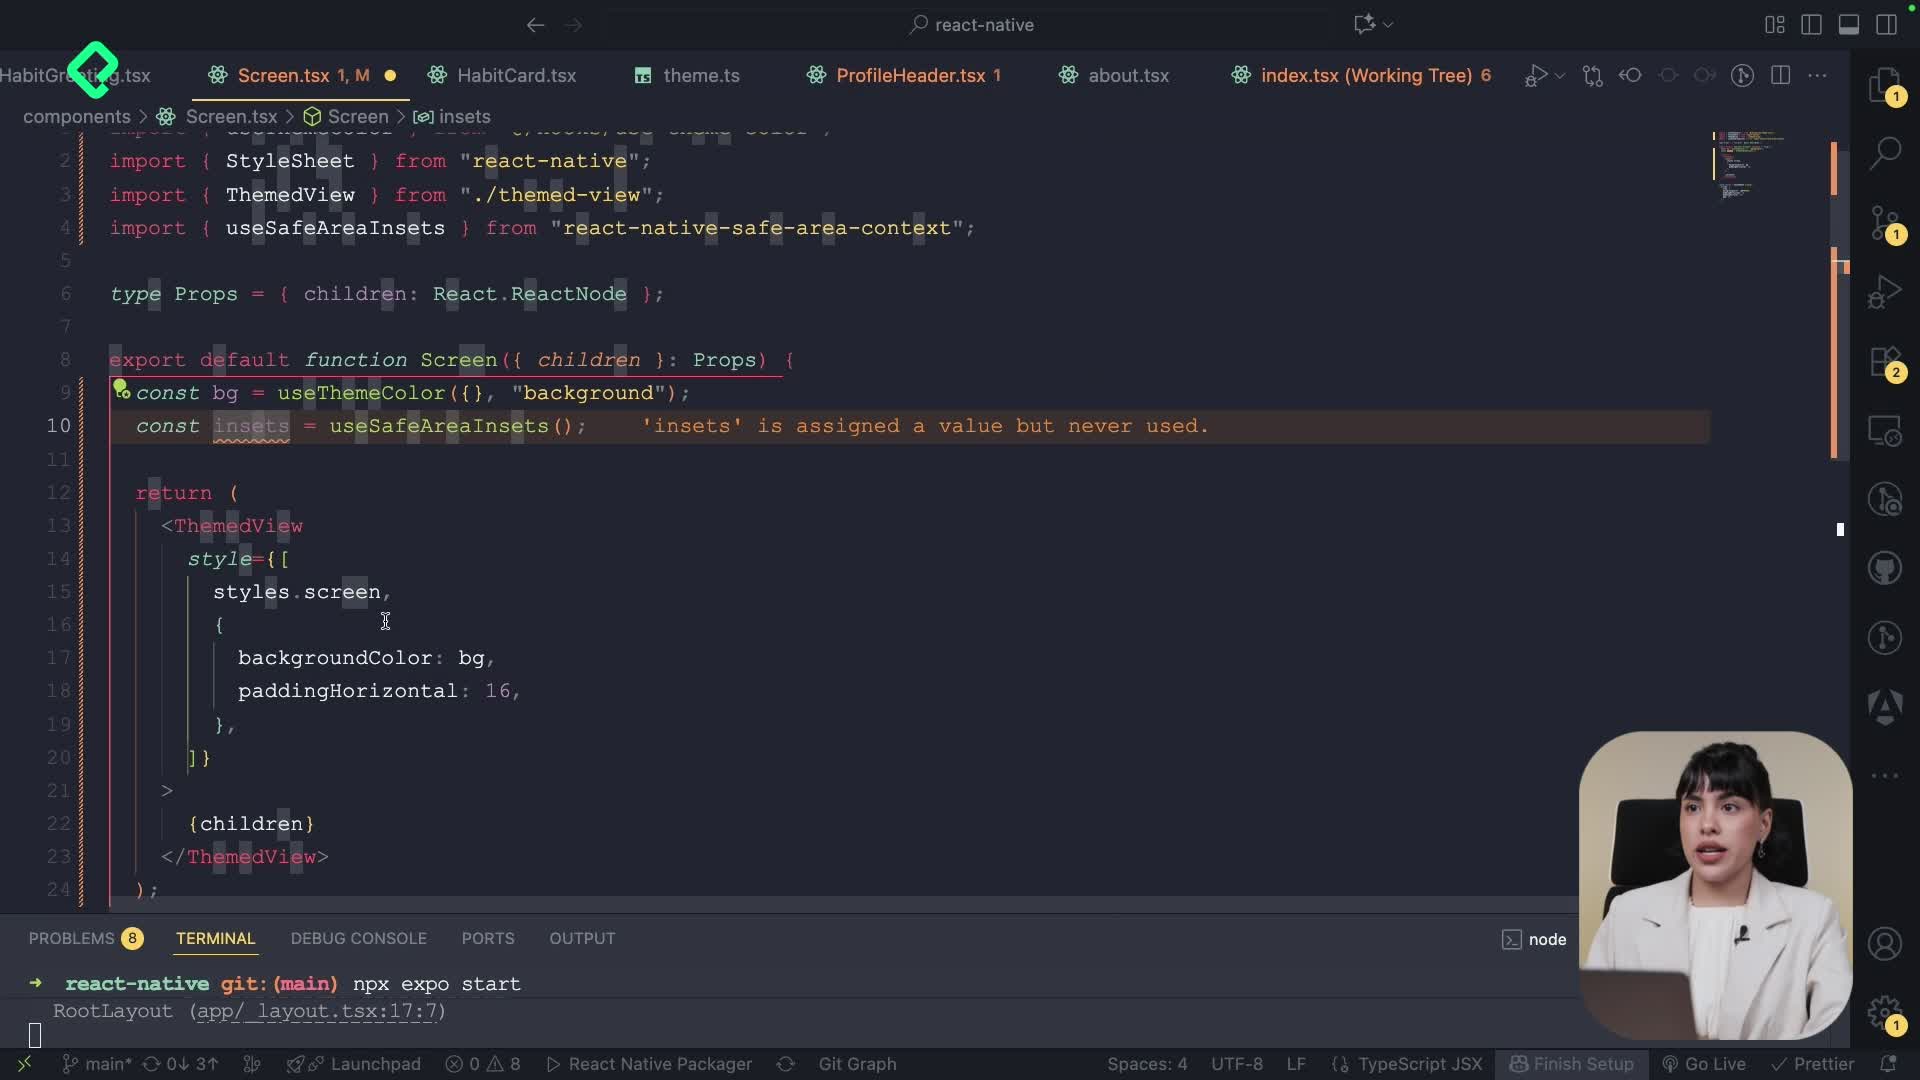
Dark Mode Theming in React Native Apps
13:07 min - 9
Making React Native Dynamic with useState
12:12 min - 10
Adding Habits and Streaks With React Native State
13:24 min - 11
Pressable vs TouchableOpacity in React Native
09:36 min
Módulo 3: Interactividad y Manejo de Datos
- 12
ScrollView vs FlatList in a Habits Carousel
10:50 min - 13
Diferencias entre ScrollView y FlatList para listas grandes
09:47 min - 14
Instalación de Async Storage para persistencia de datos en React Native
14:54 min - 15
Persisting Habits with AsyncStorage Context
12:07 min - 16

Persisting Habits with AsyncStorage and Context
13:19 min - 17
Confetti Animation With a Fake API Service
11:58 min - 18
Cómo crear una ExploreCard específica para iOS y Android
09:47 min - 19
Explore Tab Carousel With FlatList
12:49 min - 20

AI Avatar Generator with AsyncStorage
12:32 min - 21
Camera and Gallery Access in React Native
Viendo ahora
Módulo 4: Visualización de Listas y Contenido
Camera and Gallery Access in React Native
Resumen
Building a profile screen that lets users take photos, pick images from the gallery, or generate avatars with AI is one of the most practical features you can add to a React Native app. Here you will learn how to wire up ImagePicker, manage state with a custom context, and persist data on the device so the profile survives app restarts.
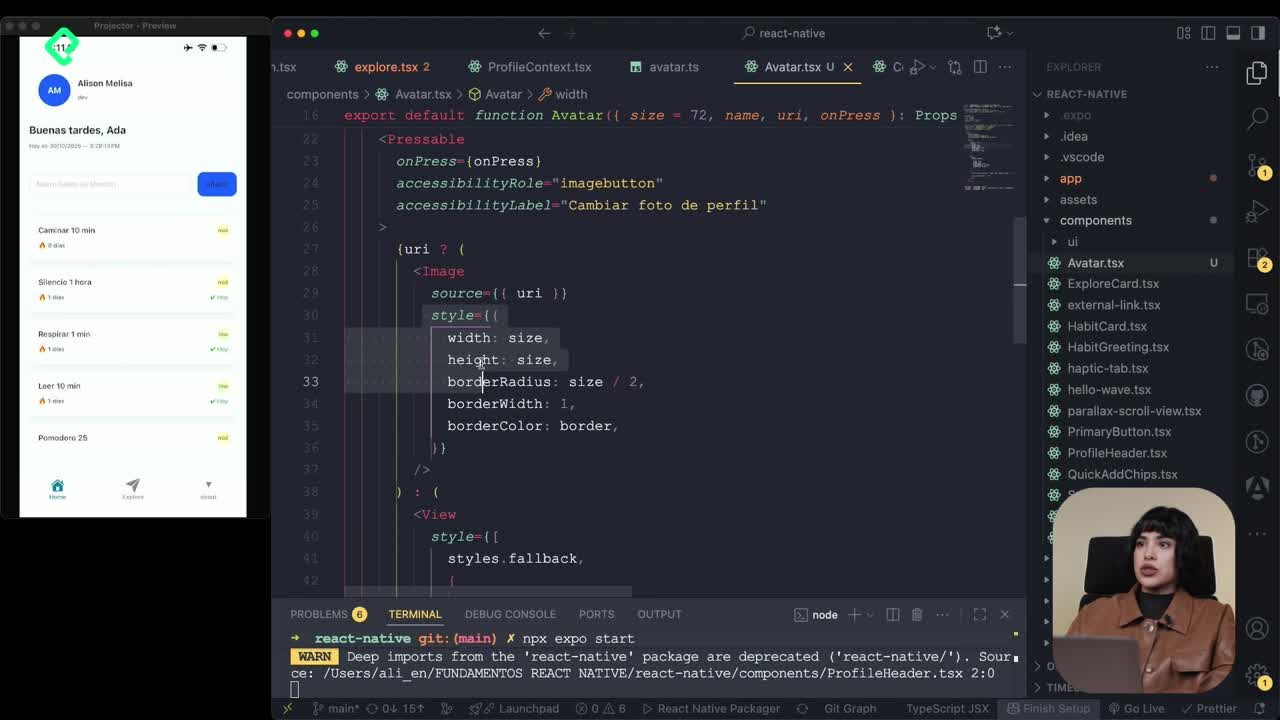
How do you build a reusable Avatar component in React Native?
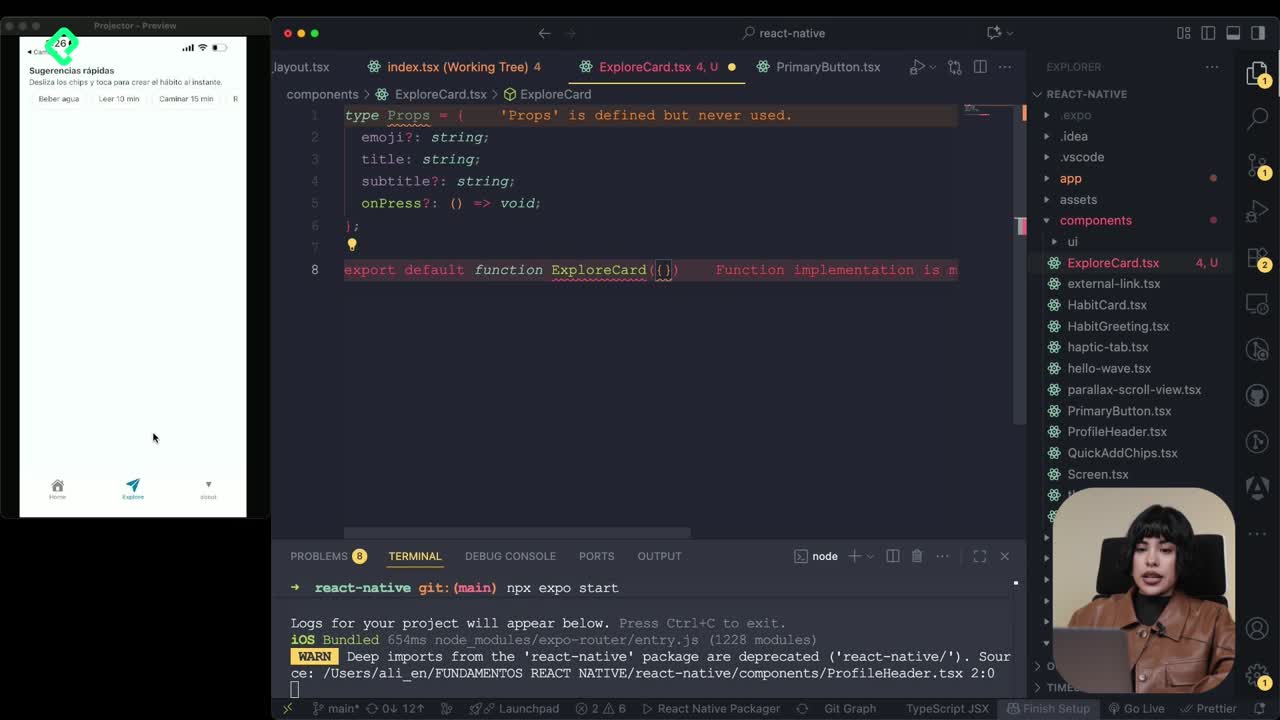
The avatar component starts as an exported function that receives three props: size, name, and the url used to render the image. It also accepts a press handler so the avatar becomes tappable.
Inside, the layout uses the familiar view and text tags, plus the image tag. The image takes a source prop with the URL, and the styles apply a border-radius large enough to keep the shape as a perfect circle.
A small utility brings back a fallback: when there is no image available, the component shows the first two initials of the name. That helper had been defined earlier in a utils file and was reused here.
What is ImagePicker in React Native? It is a library that exposes the native camera and gallery of the operating system, so you can capture or select images without building custom UI for iOS or Android.
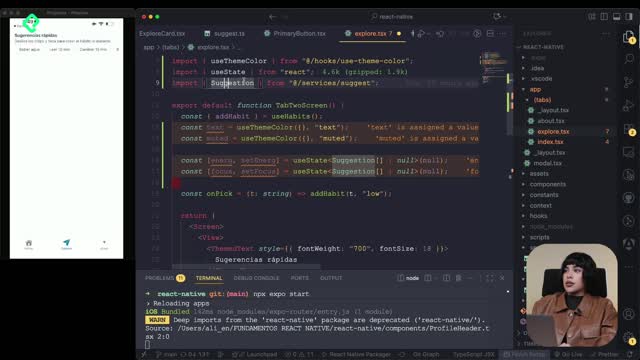
How do you connect the profile screen to a global context?
The screen previously named about is renamed to profile, both in the file and in the route reference. From there, the component pulls everything it needs from a custom hook called useProfile, plus the shared styles.
A few local states handle the form. Since the user can land on the profile tab directly, the inputs are pre filled with whatever value already exists in the store, using setName and setRole from zustand. A busy flag is added to track loading operations across the screen.
A useEffect runs on mount and hydrates the inputs from profile.name and profile.role, listening to both as dependencies. That guarantees the first paint already shows the saved data.
How do you save profile data with async functions?
A regular save function flips busy to true and then awaits the update method from the profile context. It passes an object with name.trim() and role.trim(), falling back to literal strings like "sin nombre" or "sin rol" when the fields are empty.
When the update resolves, the flag returns to false and an alert confirms that the data was stored.
How do you take photos and pick images using ImagePicker?
The library is imported at the top with import * as ImagePicker from 'expo-image-picker'. Two async functions handle the two flows.
- fromGallery: calls
launchImageLibraryAsyncwith the image media type and a quality between 0 and 1, set to 0.8. If the user cancels, the current avatar stays untouched. - takePhoto: first requests camera permissions and reads the status. If permissions are denied, it raises an alert and exits without returning anything. If granted, it calls
launchCameraAsyncand, when the result is not canceled, stores the new URI through setAvatar. - makeInteligenciaArtificial: an async helper that sets busy to true, calls the existing service with the user name, and stores the returned URL inside the avatar state.
How do you request camera permissions in Expo? Use
requestCameraPermissionsAsync()from ImagePicker, check the returned status, and only proceed when it equals "granted". Otherwise, show an alert so the user can enable access.
How do you assemble the profile UI with KeyboardAvoidingView and ScrollView?
The layout uses a wrapper that prevents the keyboard from covering the inputs, combined with Platform to apply different padding on iOS. Inside, a ScrollView replaces a FlatList because the screen has only a handful of fields.
A centered view with margin renders the avatar component, passing the name, the url, and a pressed handler that triggers the gallery picker. Two TextInput fields follow, each bound to its corresponding useState pair: name/setName and role/setRole.
The action buttons reuse the recyclable button components built earlier:
- One button to take a photo with the camera.
- One button to pick an image from the gallery.
- A primary button labeled "Generar con IA" that calls the AI avatar function.
- A save button that triggers the save function and persists the form.
The input style adds a border and rounded corners. A conditional renders a loading indicator from the custom component when the profile is still being fetched, keeping the experience smooth during the initial load.
Why do you need to wrap the app with the profile provider?
The last step is wrapping the root of the navigation tree with the profile provider. Without that, no tab can read or write the shared profile state. Once it is in place, every tab gets access to the same name, role, and avatar.
With everything connected, the profile tab lets you type a name and profession, save them to device memory, generate avatars from a random seed based on the name, take photos from the system camera, or pick from the native gallery. Closing and reopening the app keeps the data intact until you overwrite it.
What feature would you add next to this profile screen? Share your idea in the comments.