Adding an LLM to Your MCP Client
Contenido del curso
Conceptos basicos de MCP
- 5
Four Core Blocks of Every MCP Server
05:47 min - 6

Building an MCP Client That Talks to Your Server
07:18 min - 7

Adding an LLM to Your MCP Client
Viendo ahora - 8
STDIO vs SSE in MCP Servers
05:44 min - 9
LLM Connected to a Local MCP Server
11:14 min - 10
Testing MCP Servers Without a Browser
08:53 min - 11
Deploying an MCP Server to Azure Container Apps
09:39 min - 12
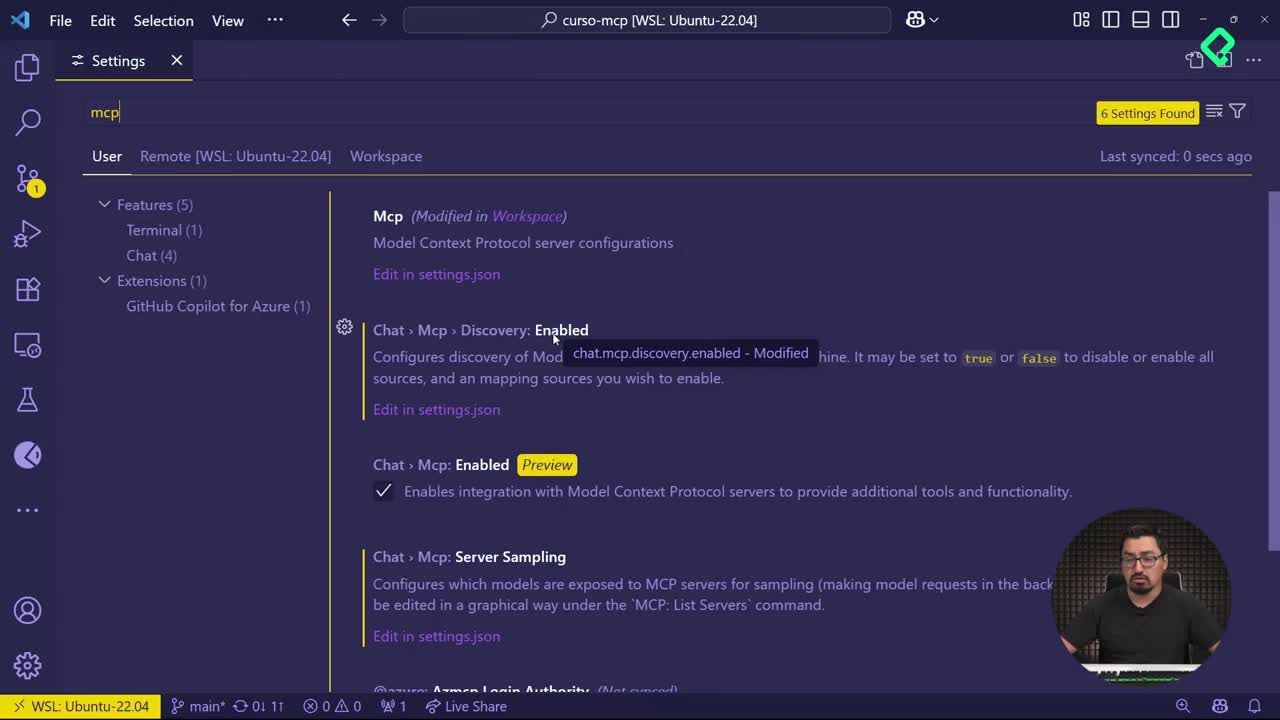
Using MCP Servers in VS Code Agent Mode
09:52 min
MCP avanzado
- 13
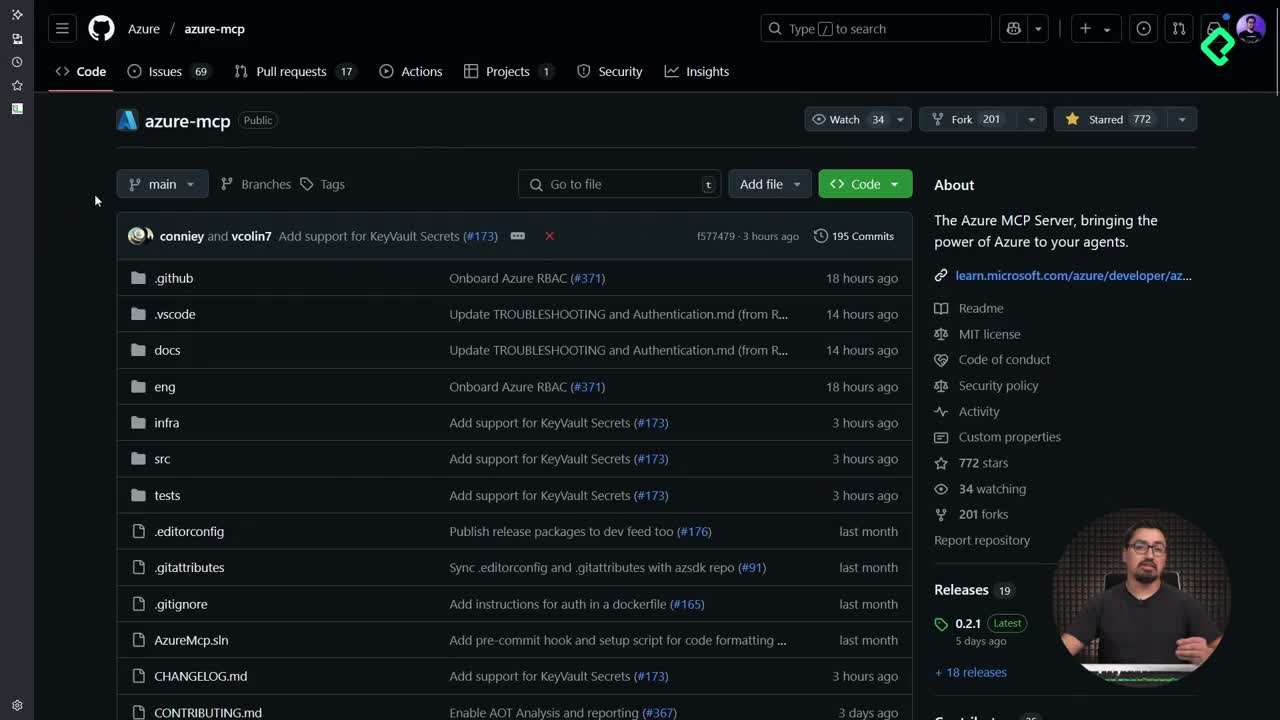
Query Azure Resources Directly From VS Code
06:46 min - 14
Herramientas avanzadas de MCP para optimizar servidores y seguridad
03:53 min - 15
GPT-4 Reading Local Files via MCP Server
14:09 min - 16
Image Brightness Analysis with MCP and NumPy
09:48 min - 17
How MCP Agents Remember Conversations
05:01 min - 18
Enrutamiento de herramientas con MCP Server
09:19 min
Integrando tu MCP con un agente
Adding an LLM to Your MCP Client
Resumen
Connecting a Large Language Model to an MCP client transforms a rigid request-response system into a conversational tool. You will learn how to merge an LLM with your MCP setup using a GitHub personal access token, Azure AI Inference, and a GPT-4 model, so your client understands prompts written in natural language instead of structured arguments.
This walkthrough is for developers who already have an MCP server and client running and want to add a human friendly interaction layer on top.
Why fuse an LLM with your MCP client?
The value of pairing a server and a client through Model Context Protocol is not the data exchange itself. It is what comes after: holding a real conversation with the tool.
When you fuse an LLM into the MCP client, the response becomes more human and easier to interpret. Instead of sending rigid parameters like A=20, B=2, you can write add 2 to 20 and let the model parse the intent.
What does it mean to fuse an LLM with MCP? It means the client routes natural language prompts through a language model, which then maps the request to the tools exposed by the MCP server and returns a readable result.
How do I generate a GitHub personal access token for the MCP client?
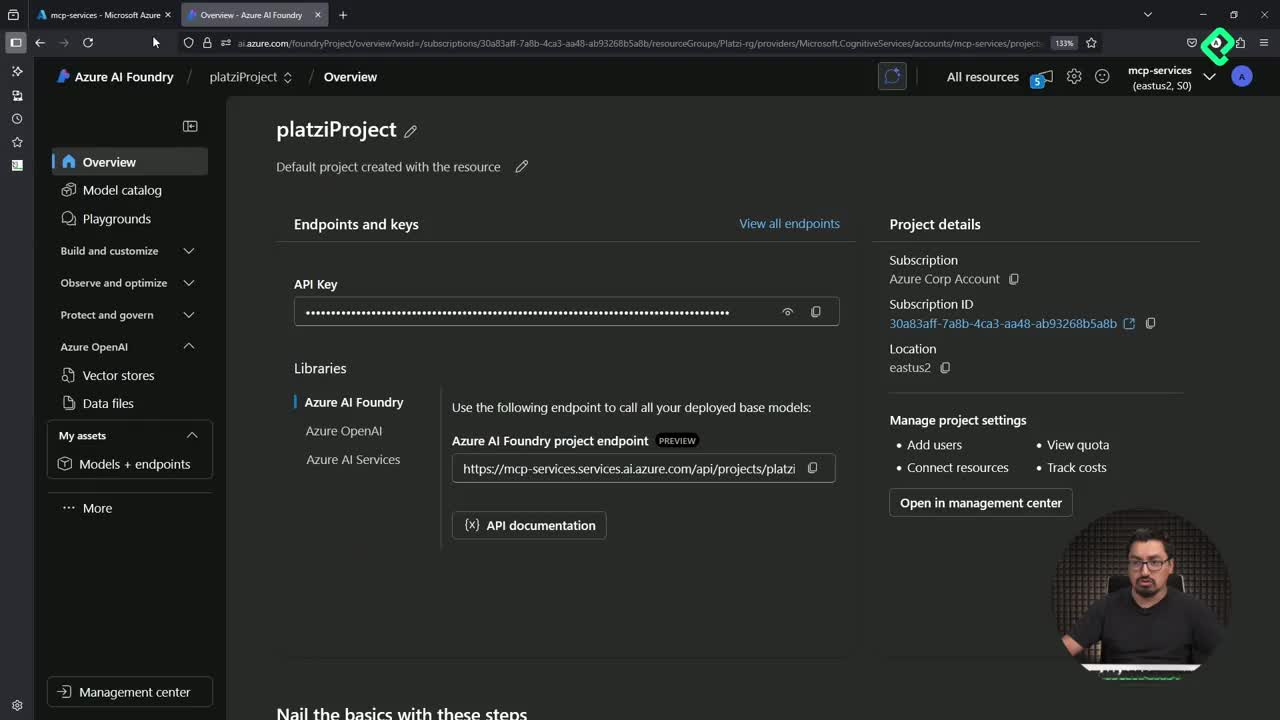
The integration relies on a GitHub personal access token (PAT) that authorizes calls to the Azure AI Inference endpoint [00:32].
- Open your GitHub profile and go to Settings.
- Scroll down to Developer settings.
- Choose Personal access tokens and pick the classic option.
- Name it something clear like
mcp_client. - Set an expiration of around 60 days.
- Select all the scopes, since this is a temporary token you will delete after the exercise.
- Click Generate token and copy it immediately.
That last step matters. The token is shown only once, so if you close the tab you will need to create a new one.
Why should I avoid hardcoding the token?
During the demo the token lives inside the code, but that is not how you should ship it. The recommended path is to store it in a .env file and load it with import os so your secret never travels with the repository.
Where should I store my GitHub token? Keep it in a
.envfile outside version control and read it with environment variables. Never commit a PAT to GitHub.
How do I wire the LLM into the MCP client code?
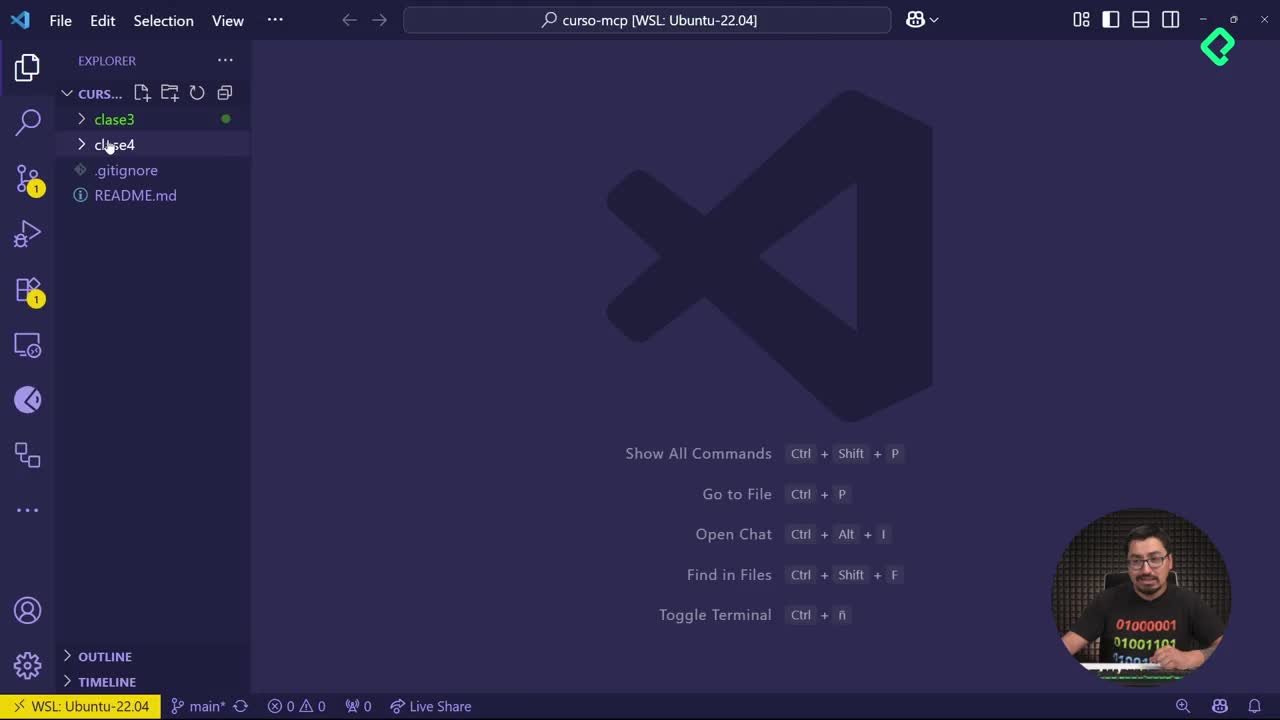
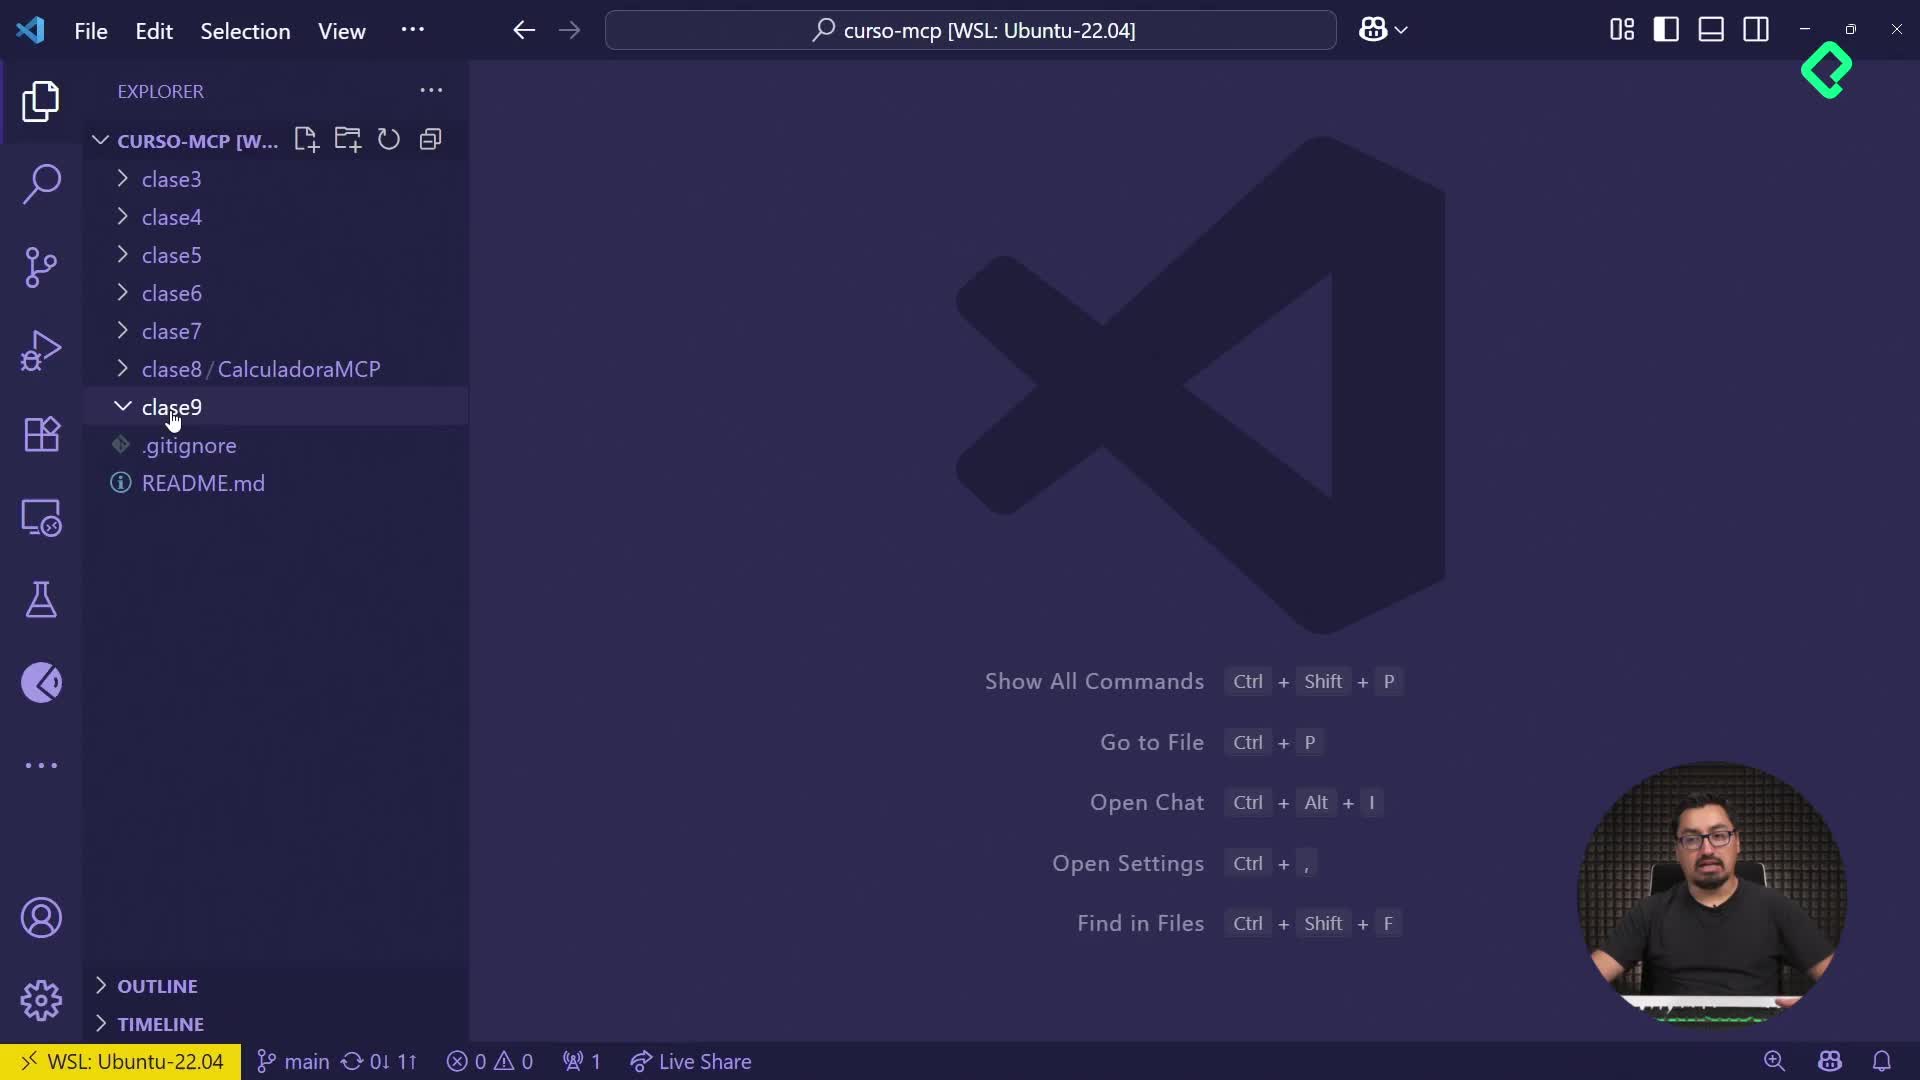
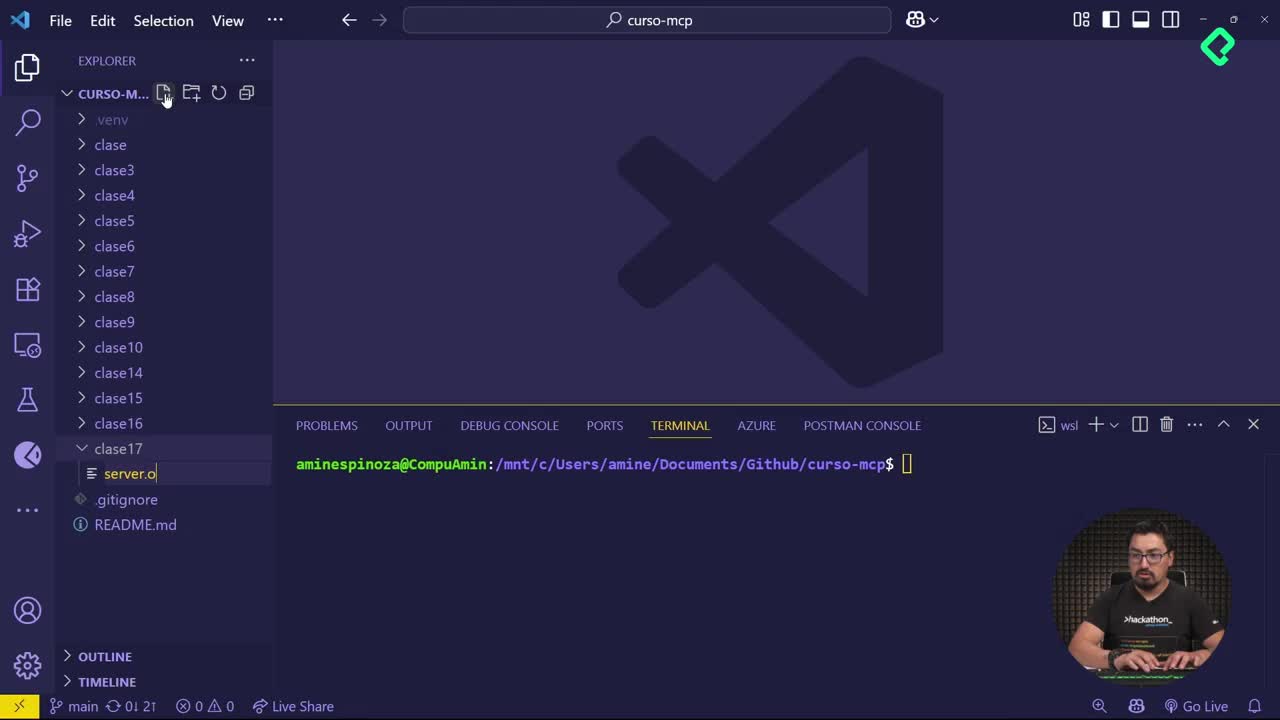
Inside the project, create a new folder called clase 6 and copy two files into it: server.py from the previous lesson and a new client.py [02:45].
The server stays untouched. All the new logic lives in the client, which now needs two extra methods and a few imports.
Which methods do I need to add?
Two helpers do the heavy lifting inside client.py:
convert_to_llm_tool: transforms each MCP tool into the JSON schema the LLM expects, including name, description and required parameters.call_llm: builds an Azure AI Inference client using your token and endpoint, sends the prompt plus the available tools, and returns the model decision about which function to invoke [05:10].
The model used in the demo is GPT-4, served through an Azure AI Inference endpoint. The credentials are passed as parameters when instantiating the client.
How does the client decide which tool to run?
Inside the run method, the prompt becomes natural language. Instead of A=20, B=2, you write add 2 to 20. The client then calls functions_to_call, iterates over the response with a for loop, and executes the matching tool from the server, in this case the add function [06:55].
What is functions_to_call in an MCP client? It is the list returned by the LLM with the tools it decided to invoke based on the prompt. The client loops through it and runs each function against the MCP server.
Which imports and dependencies do I need?
Before running the client, add the new package references at the top of client.py:
python from azure.ai.inference import ChatCompletionsClient from azure.ai.inference.models import SystemMessage, UserMessage from azure.core.credentials import AzureKeyCredential import json
The import os line is intentionally left out in the demo as a hint: you will need it the moment you move the token into a .env file.
How do I run the client and validate the integration?
Open the terminal, move into the new folder and execute the client, not the server [08:40]:
bash cd clase\ 6 python3 client.py
The output mirrors what you saw in the previous lesson: list resources, list tools, read resources and call the tool. The new section appears at the bottom, where the LLM receives the prompt add 2 to 20 and returns the same result the server would produce with structured arguments.
The server logs confirm the flow with messages like processing request of type call tool and a result of type text 22, annotations none. With or without the LLM, the math is identical. The difference is that you now ask in plain English.
What should you try next?
Play with different prompts and watch how the LLM maps them to the tools you exposed. Then move the token into a .env file, load it with import os, and delete the temporary PAT once you finish testing.
If you build something interesting on top of this client, share your prompt examples in the comments so others can learn from your experiments.