STDIO vs SSE in MCP Servers
Contenido del curso
Conceptos basicos de MCP
- 5
Four Core Blocks of Every MCP Server
05:47 min - 6

Building an MCP Client That Talks to Your Server
07:18 min - 7

Adding an LLM to Your MCP Client
11:38 min - 8
STDIO vs SSE in MCP Servers
Viendo ahora - 9
LLM Connected to a Local MCP Server
11:14 min - 10
Testing MCP Servers Without a Browser
08:53 min - 11
Deploying an MCP Server to Azure Container Apps
09:39 min - 12
Using MCP Servers in VS Code Agent Mode
09:52 min
MCP avanzado
- 13
Query Azure Resources Directly From VS Code
06:46 min - 14
Herramientas avanzadas de MCP para optimizar servidores y seguridad
03:53 min - 15
GPT-4 Reading Local Files via MCP Server
14:09 min - 16
Image Brightness Analysis with MCP and NumPy
09:48 min - 17
How MCP Agents Remember Conversations
05:01 min - 18
Enrutamiento de herramientas con MCP Server
09:19 min
Integrando tu MCP con un agente
STDIO vs SSE in MCP Servers
Resumen
Switching from STDIO to Server-Sent Events (SSE) in your MCP server changes how data flows between client and server, making your agent faster and lighter without altering its behavior. If you are building MCP tools and want streaming over HTTP, this is the connection type you need to know.
What is SSE and why does it matter for MCP?
SSE stands for Server-Sent Events, and it is the transport that lets your MCP server push information to the client over HTTP in a continuous, lightweight stream.
Until now, the default transport in most MCP examples has been STDIO, which works fine for local processes but is not ideal when you need constant, efficient communication. SSE solves that by enabling streaming, similar to how Netflix delivers a movie in chunks instead of forcing you to download the full file before watching.
What is SSE in MCP? It is a transport that streams data from server to client over HTTP, making the exchange faster and lighter than STDIO.
The practical impact is real: as a conversation grows, an agent tends to slow down because it carries more context. With SSE, that context flows in parts, keeping the interaction responsive.
How do you set up an SSE server with FastMCP and Starlette?
The setup relies on three imports working together: Starlette applications, Starlette routing, and the usual MCP import you already use. Starlette is the lightweight ASGI framework that handles the HTTP layer where SSE lives.
Here is the flow shown in the demo:
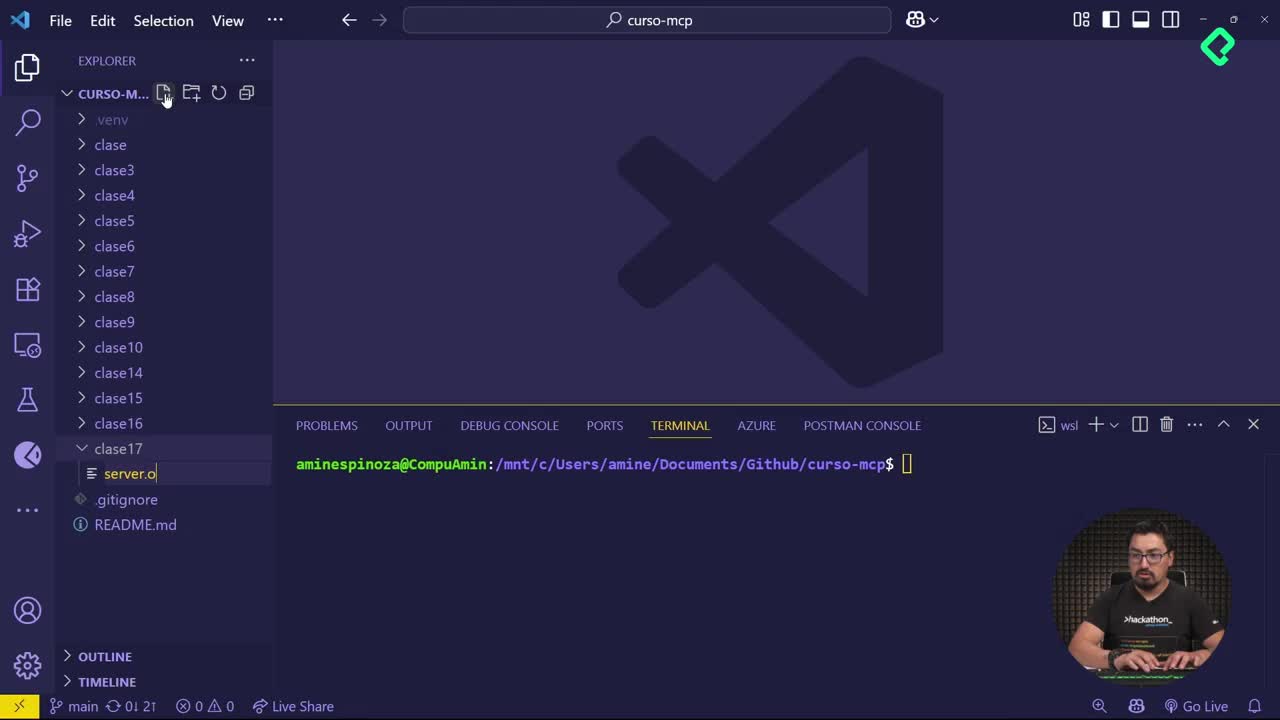
- Create a folder named
clase7and inside it a file calledserver.py. - Add the three imports: Starlette applications, Starlette routing, and MCP.
- Initialize the server using FastMCP, naming it
sse de Platzito distinguish it from previous servers. - Define the same tool used before, a function that sums two integers.
- Enable the SSE layer in the middle section of the file, which exposes the app over HTTP.
The tool itself does not change. What changes is the wrapper that publishes it through an SSE endpoint instead of standard input/output.
How do you run the server with Uvicorn?
Once the file is ready, you launch it with Uvicorn, an ASGI server inside Python used to deploy applications [02:00]. From the clase7 folder you run uvicorn server:app, which boots the app on port 8000 by default.
This is a different way of starting an MCP server compared to running it directly, but it is the practical path when you want HTTP streaming.
How do you connect the MCP Inspector to an SSE endpoint?
With the server running on port 8000, open a new terminal so you do not kill the process, and launch the inspector with the usual npx command pointing to mcp run server.py [02:30]. The inspector opens with a control-click on the URL it prints.
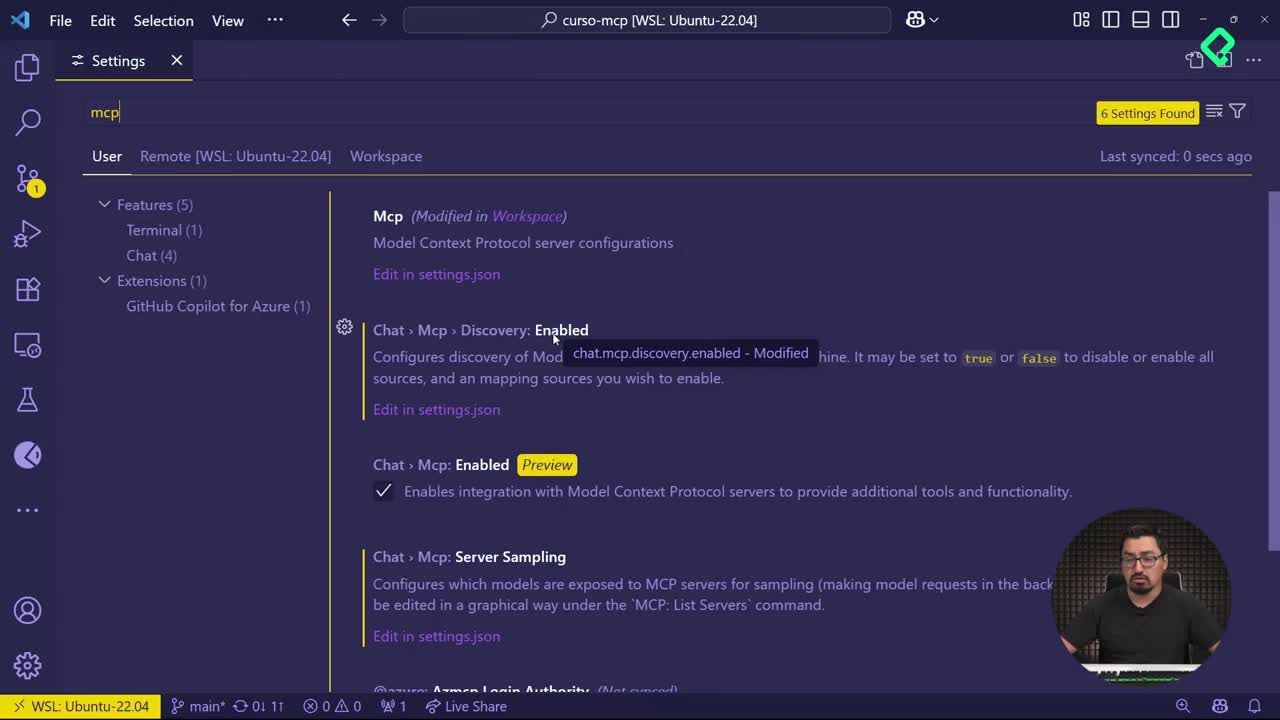
Inside the inspector, locate the transport type selector. By default it shows STDIO, the option used in earlier exercises. Change it to SSE and enter the URL:
- Transport: SSE.
- URL:
http://localhost:8000/sse. - Action: press Connect.
That is the only visible difference in the inspector. Everything else, including how you call tools, stays identical.
What URL do you use for an SSE MCP server? Use
http://localhost:8000/sse, where 8000 is the port Uvicorn exposes and/sseis the streaming endpoint.
How do you test the tool over SSE?
Once connected, go to Tools in the inspector, pick the add function, and pass two integers. In the demo, passing 25 and 25 returns 50, the same result you would get over STDIO.
Visually there is no difference, and that is the point. SSE optimizes the channel underneath without forcing you to rewrite your tools.
Does SSE change how MCP tools behave? No. Tools return the same results. SSE only makes the transport between client and server lighter and continuous.
When should you choose SSE over STDIO in a real project?
STDIO is convenient for local experiments and quick prototypes. SSE shines when your agent runs over the network, when conversations are long, or when latency starts to hurt the experience.
Think of it this way: with STDIO, every exchange feels like sending a full package. With SSE, the server delivers information in parts, the same way a streaming platform sends video frames as they are needed. That makes the agent feel faster as context accumulates, and it reduces the cost of processing everything in one shot.
Key takeaways from the implementation:
- FastMCP still hosts your tools, no rewrite needed.
- Starlette provides the HTTP layer for the SSE endpoint.
- Uvicorn runs the ASGI app on a chosen port, typically 8000.
- The MCP Inspector lets you switch transport type to SSE and connect via URL.
If you are scaling an MCP agent toward production, moving from STDIO to SSE is one of the simplest changes with the highest payoff in responsiveness.
Have you already migrated one of your MCP servers to SSE? Share in the comments which port and framework you are using.