Contenido del curso
Conceptos basicos de MCP
- 5
Four Core Blocks of Every MCP Server
05:47 min - 6

Building an MCP Client That Talks to Your Server
07:18 min - 7

Adding an LLM to Your MCP Client
11:38 min - 8
STDIO vs SSE in MCP Servers
05:44 min - 9
LLM Connected to a Local MCP Server
11:14 min - 10
Testing MCP Servers Without a Browser
08:53 min - 11

Deploying an MCP Server to Azure Container Apps
09:39 min - 12
Using MCP Servers in VS Code Agent Mode
09:52 min
MCP avanzado
- 13
Query Azure Resources Directly From VS Code
Viendo ahora - 14
Herramientas avanzadas de MCP para optimizar servidores y seguridad
03:53 min - 15
GPT-4 Reading Local Files via MCP Server
14:09 min - 16
Image Brightness Analysis with MCP and NumPy
09:48 min - 17
How MCP Agents Remember Conversations
05:01 min - 18
Enrutamiento de herramientas con MCP Server
09:19 min
Integrando tu MCP con un agente
Query Azure Resources Directly From VS Code
Resumen
Managing Azure resources without leaving your editor sounds like a dream, right? With the Azure MCP Server, you can query subscriptions, list resource groups and skip the portal entirely, all from GitHub Copilot inside VS Code. This walkthrough shows you how to install it, fix common errors and tailor the tools you actually need.
What is the Azure MCP Server and why does it matter?
The Azure MCP Server is a Model Context Protocol implementation that exposes Azure capabilities as tools your AI host can call directly. Instead of opening the portal or typing CLI commands, you ask Copilot in natural language and the MCP handles the rest.
What is an MCP server? It is a service that exposes tools and data to an AI host through the Model Context Protocol, so your assistant can execute real actions like listing resource groups or reading subscriptions.
Keep in mind that this server is work in progress [4:20]. Some resources like container apps or functions are not yet covered, but core operations like subscriptions, resource groups and best practices are ready to use.
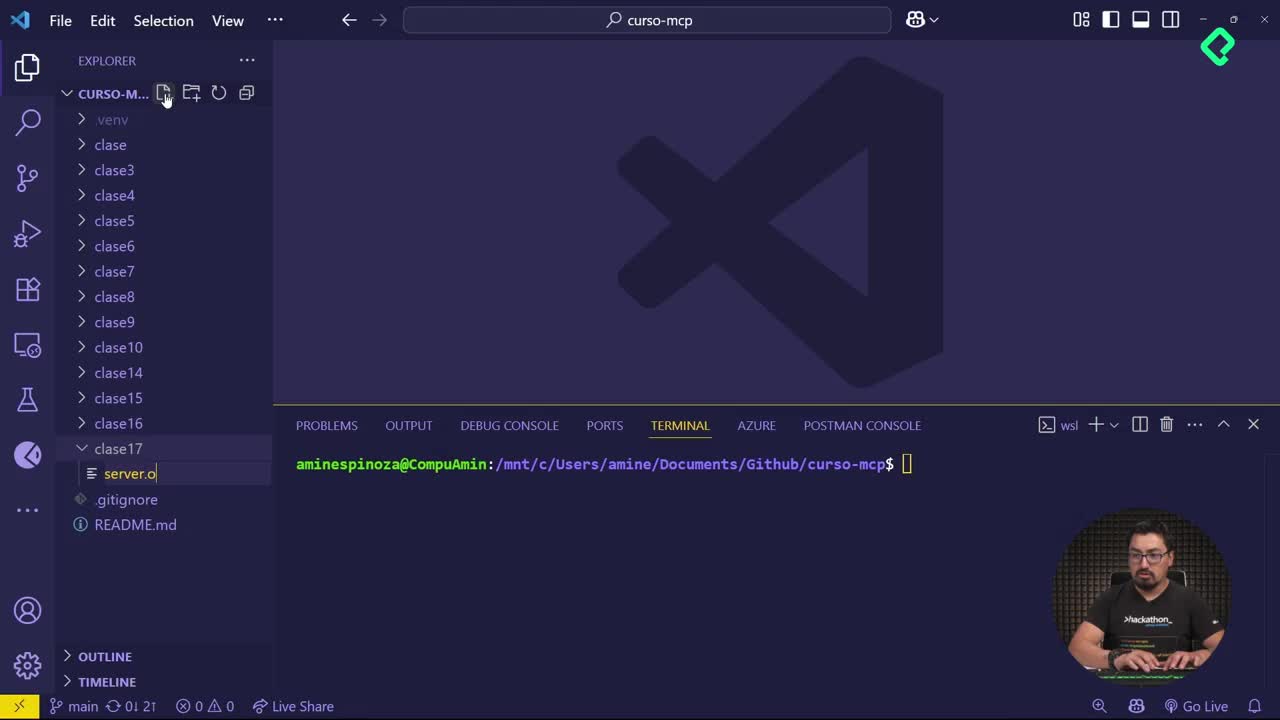
How do you install Azure MCP Server in VS Code?
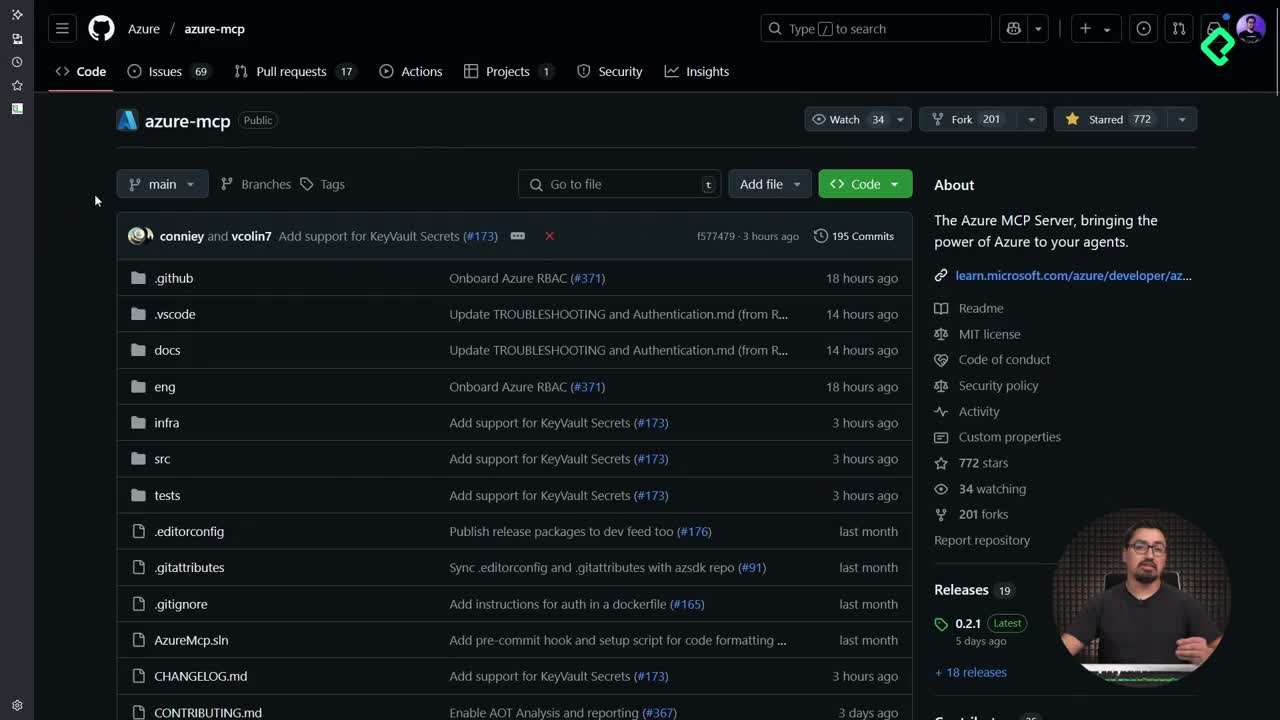
The install flow is surprisingly direct. From the Azure MCP repository you pick the All option to expose every available Azure tool inside a single MCP, and VS Code takes over from there.
These are the steps you will follow:
- Open the Azure MCP repository linked in the class resources.
- Locate the tools table and click the All install option.
- Accept the prompt that opens VS Code with the install link.
- Click Install Server and wait a few seconds while it registers and runs.
- Confirm the server appears as active in your MCP panel.
Once the server is running, you do not need to add commands or arguments manually. The only requirement left is making sure VS Code is connected to your Azure subscription.
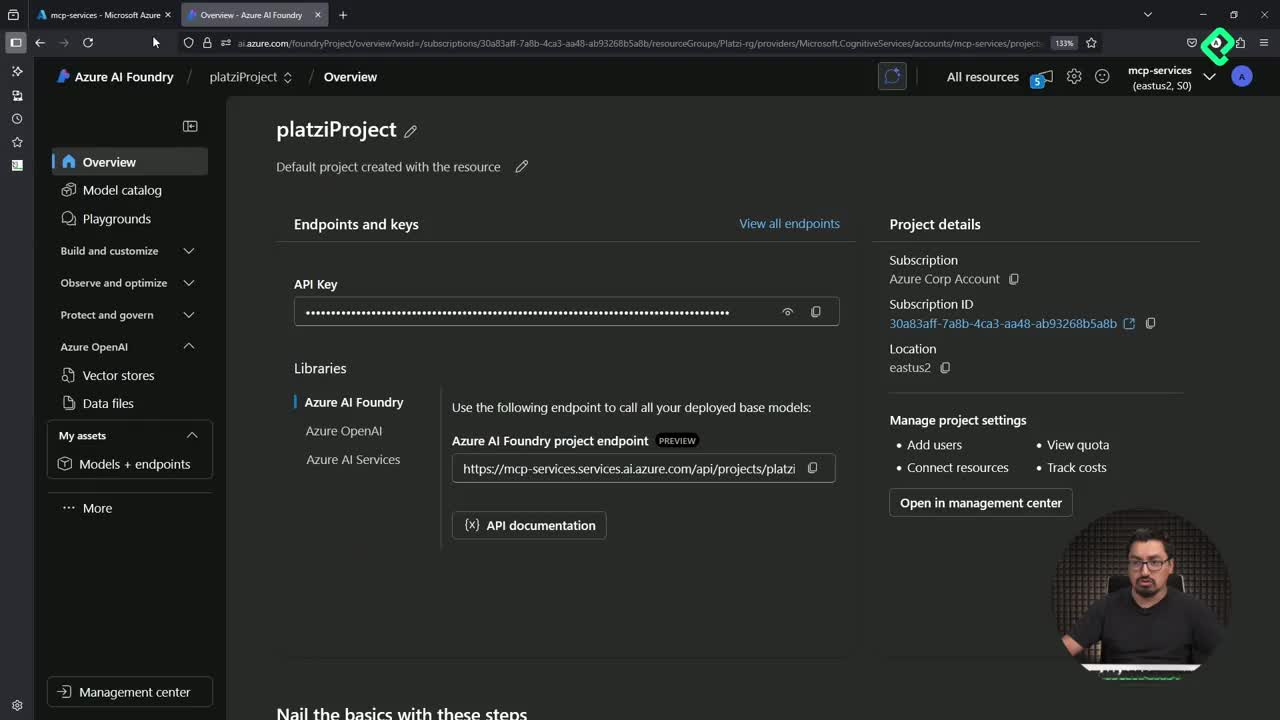
How do I connect VS Code to my Azure subscription?
Open the command palette with Ctrl + Shift + P and run Azure Sign In. Then run Azure: Select Subscriptions to see every subscription tied to your account.
In the demo there were three subscriptions visible, but only Azure Corp Account was the active one. Pick the subscription you want the MCP to interact with and confirm. That single selection is what gives the server permission to read your cloud environment.
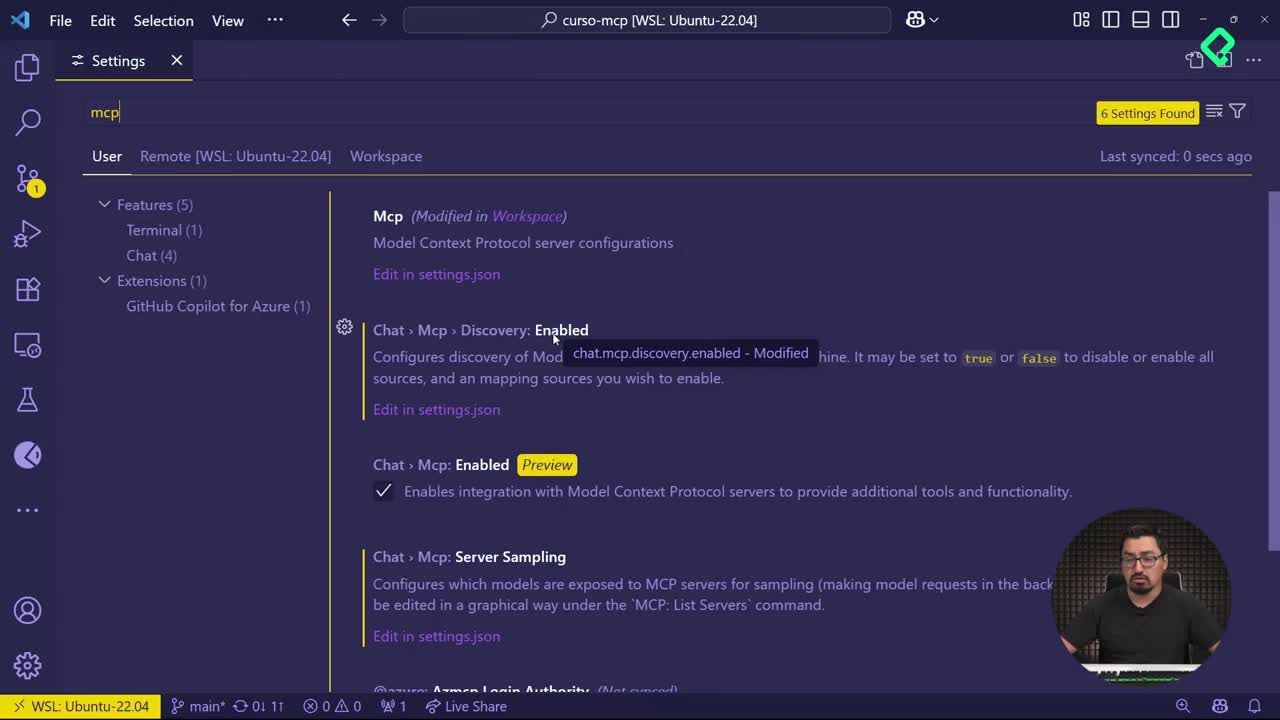
Why does Copilot show the 128 tools error?
When you enable every checkbox in the Azure MCP, VS Code surfaces a hard limit. The first time you send a prompt like give me the resource groups in my current Azure subscription, you may see this message: you cannot include more than 128 tools in your request.
Why does VS Code limit MCP tools to 128? Because the AI host caps how many tool definitions it can load into a single context window. The Azure MCP exposes 127 tools by default, and any extra MCP pushes you over the limit.
The fix is to disable the tools you do not need. In the demo the count dropped from 127 to 71 [6:05] just by unchecking unused groups.
Which Azure MCP tools should you keep enabled?
It depends on your workflow, but a lean selection works well for resource discovery. The configuration used in the class kept these groups active:
- Account list for identity context.
- Best practices for guidance prompts.
- Extension tools from A to Z, which include the Azure CLI bridge.
- Subscription list to enumerate available subscriptions.
- Group list to retrieve resource groups.
Groups like Key Vault, Cosmos, Kusto and Monitor were turned off. The final count landed at 78 tools, well under the 128 ceiling and focused on the task at hand.
How does authentication work the first time you query Azure?
After trimming the tools, send the prompt again. Copilot will chain two references: first it interprets your request, then it calls the MCP to fetch the selected subscriptions.
On the first run the server prompts you to log in. If you authenticate with the wrong account, the call to az mcp group list fails silently and the chat shows an error trace. Re run the command, sign in with the correct email and the same tool executes cleanly, returning the list of resource groups, including familiar ones like Platzi RG [9:40].
From that moment you can keep asking Copilot for Azure data without touching the portal or the CLI. You are not getting full parity with Azure CLI yet, but you are getting a solid example of how a third party service becomes a first class citizen inside your MCP host.
Which Azure tools would you like to see added to the MCP next? Drop your wish list in the comments.